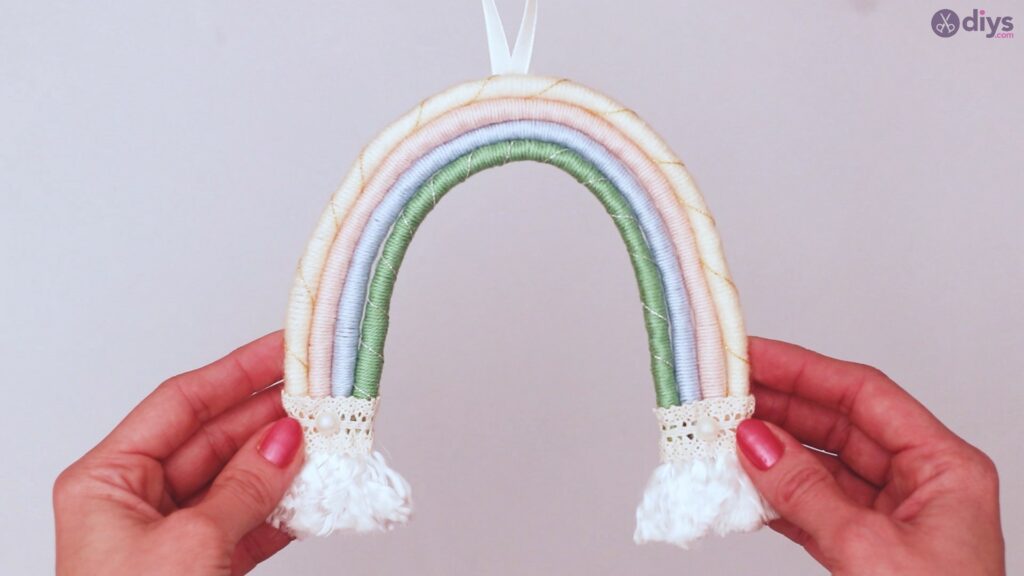
DIY Yarn Rainbow Wall Decor
Finding a project that is simple to complete but can be fabricated unique plenty so that it's one of a kind is difficult, specially if you lot're looking for décor for a child's room. However, any place in the business firm you lot desire to add a new piece of décor, a DIY yarn rainbow can add character to your space. They're easy to consummate, with fairly simple instructions, and y'all can get creative to make them one of a kind based on your thoughts and preferences.
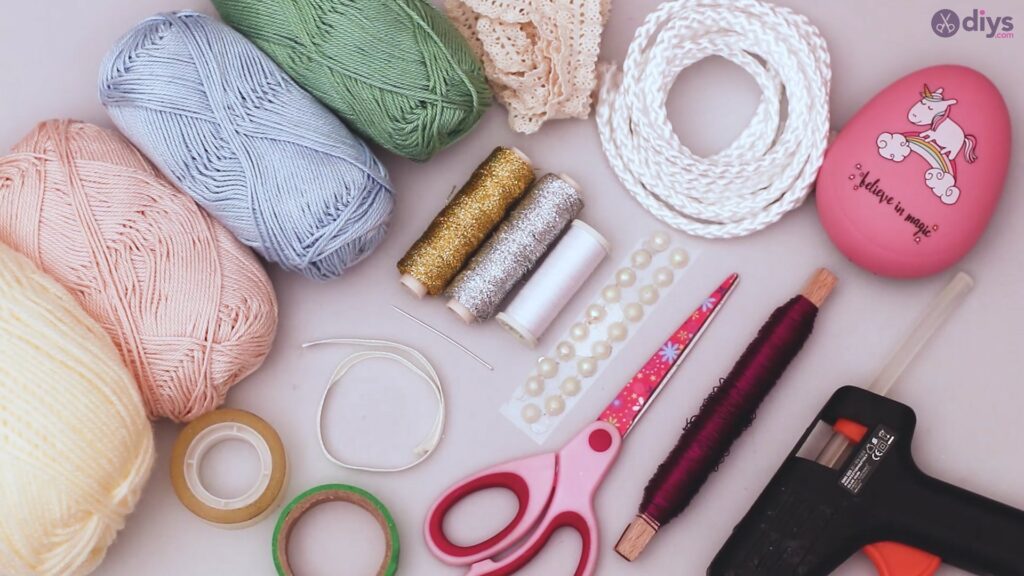
Materials for the Yarn Rainbow Wall Decor:
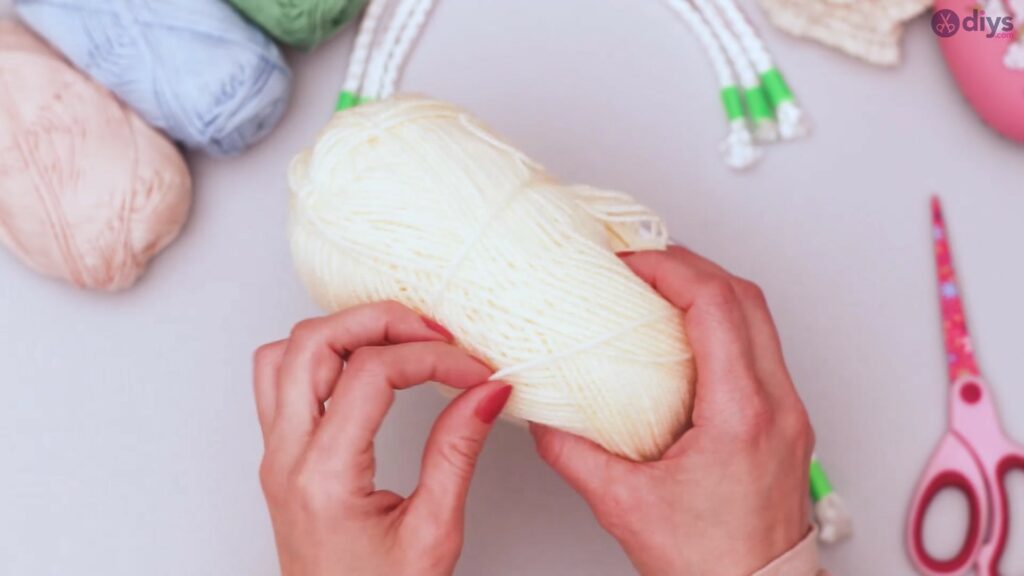
- 4 colours of yarn
- rope
- gold/silver twisted yarn
- floral wire, tapes
- silk ribbon
- lace ribbon
- decorative beads
- scissors
- gum gun
Step by footstep procedure to craft the yarn wall decor:
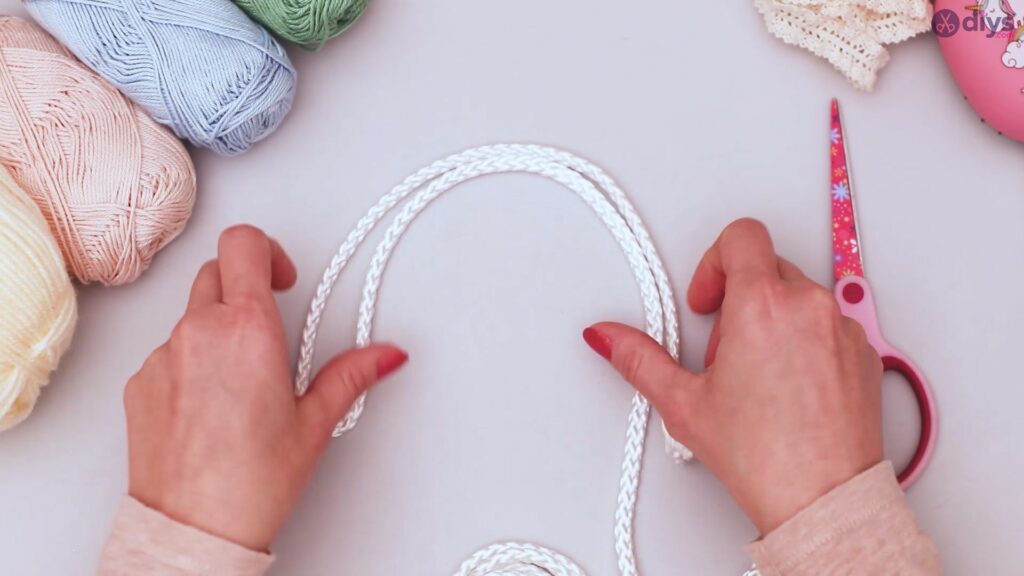
Step i: Sizing your rainbow
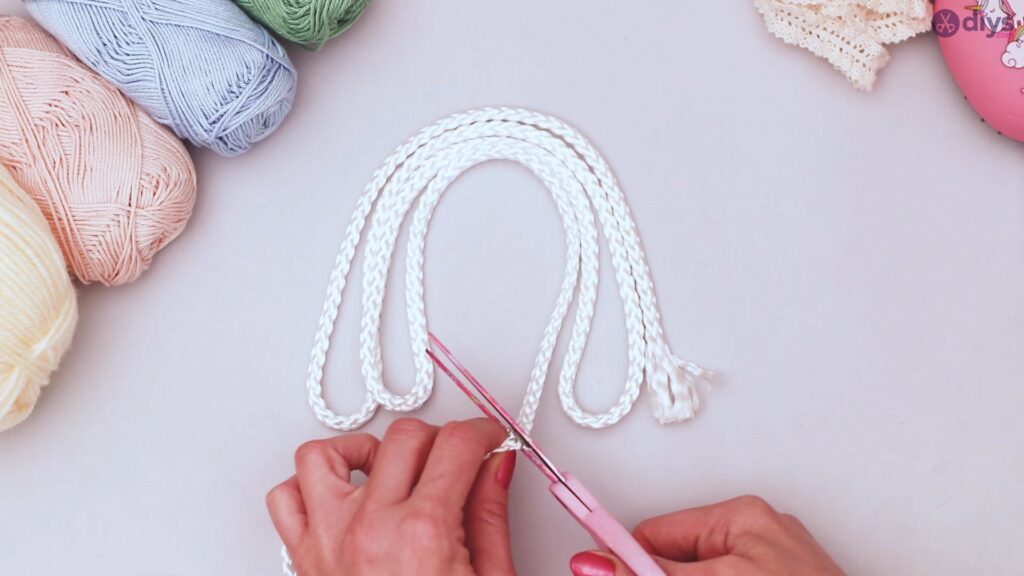
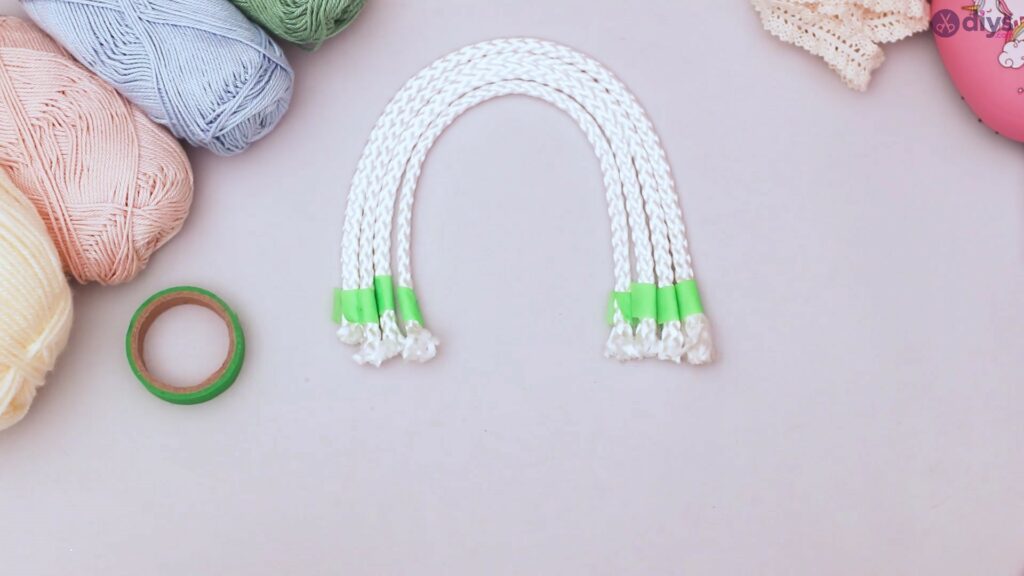
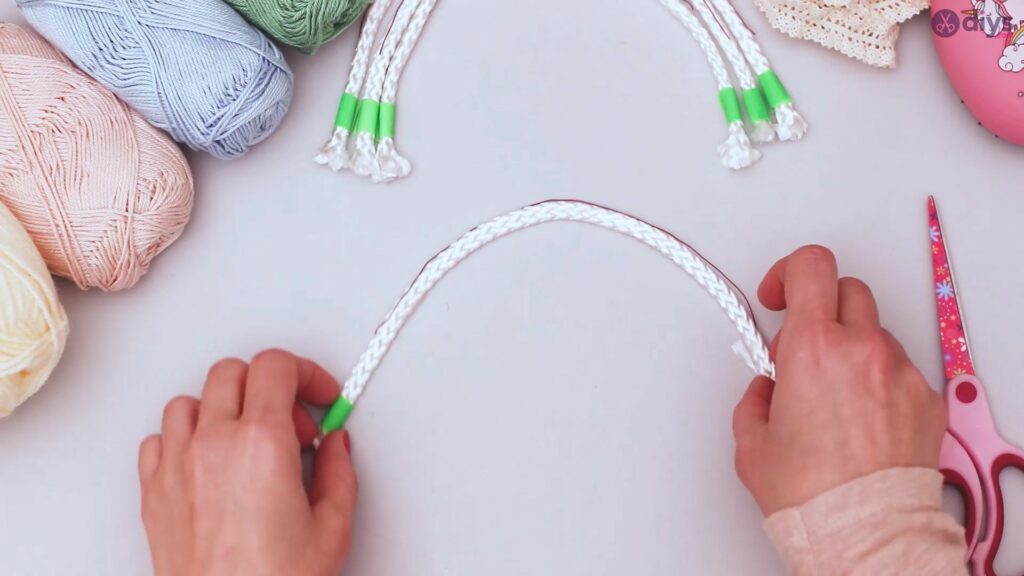
Take hold of your rope, and decide how large you lot desire your rainbow to exist by creating the beginning, largest exterior arch with the rope. When you've settled on a size, fold the rope back under itself for the second arch. When you have it level with the stop of the rope, fold again for the third arch, and so once again to create the smallest inside curvation.
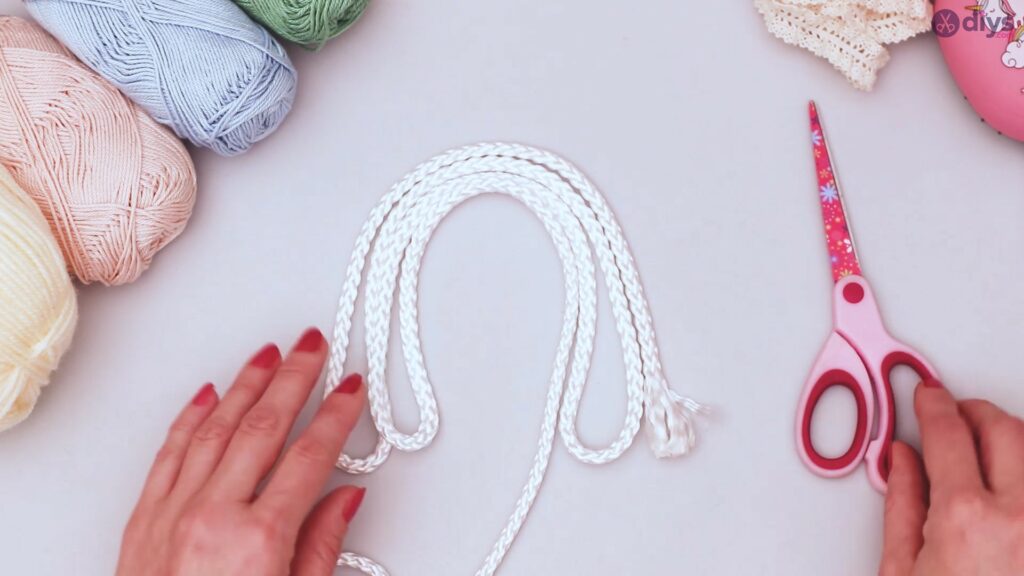
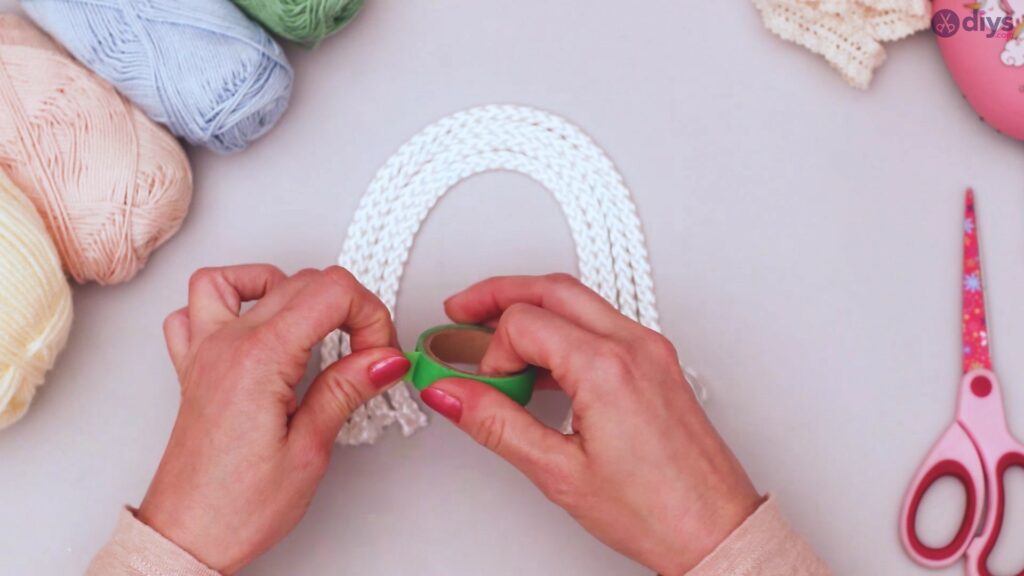
Stride two: Preparing the rope
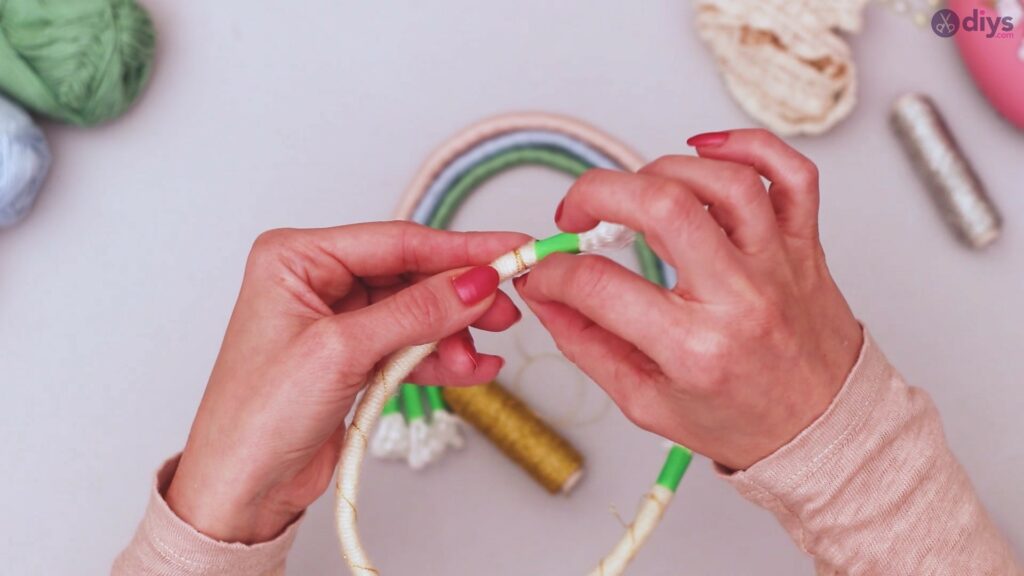
With your four arches created, apply your scissors to cutting the loops at the bottom, so yous have four individual pieces of rope in the appropriate sizes for the arches.
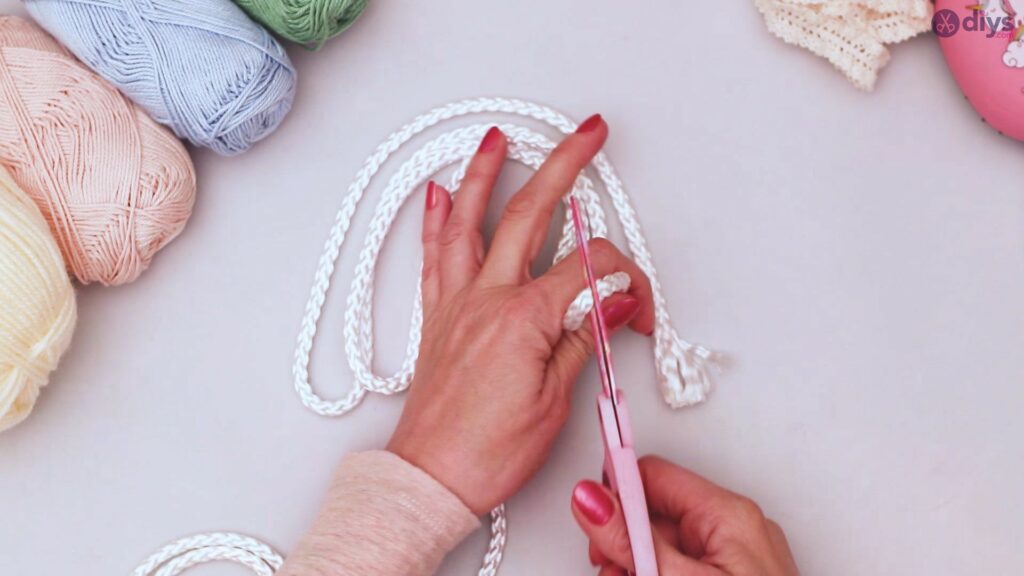
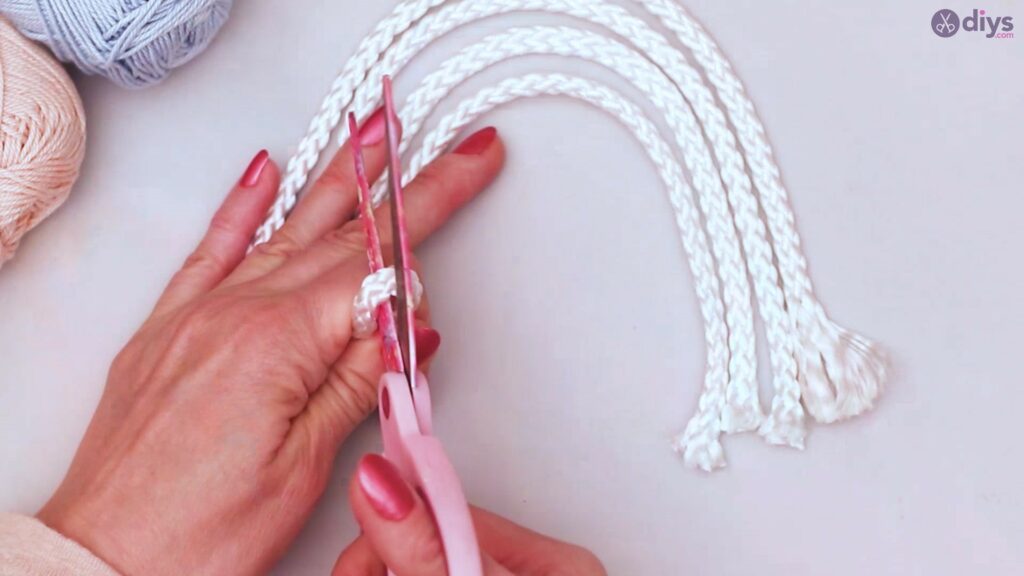
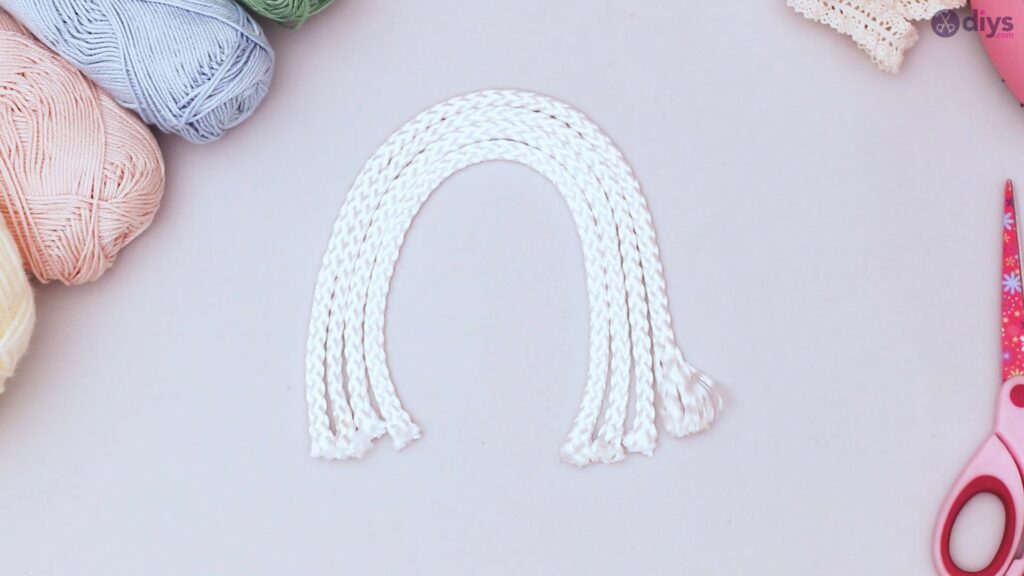
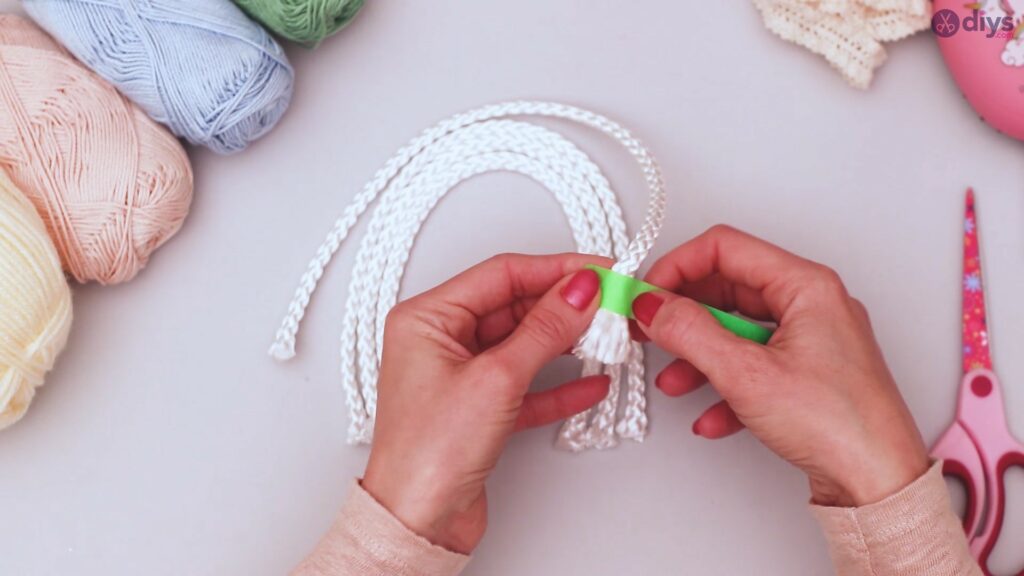
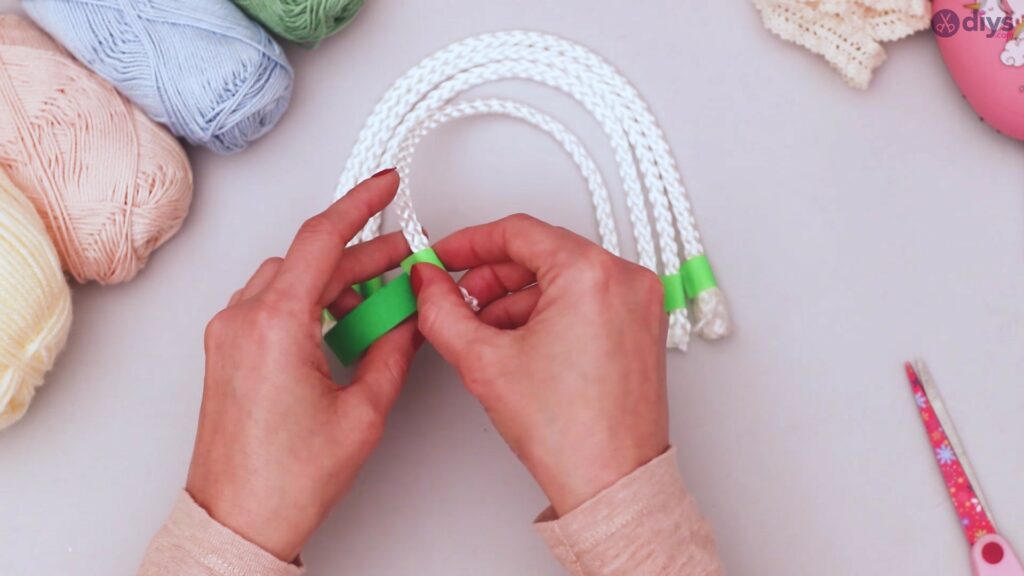
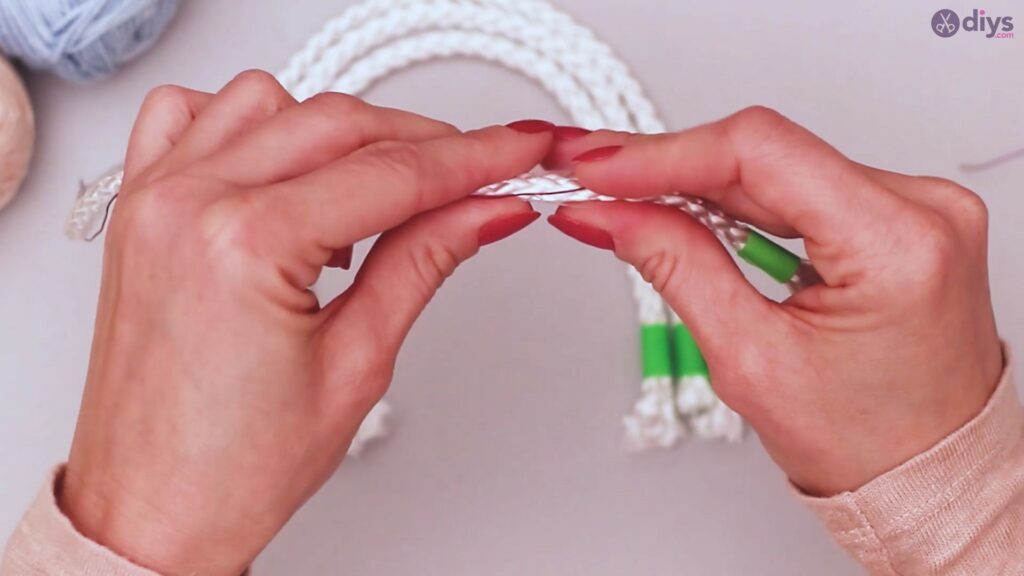
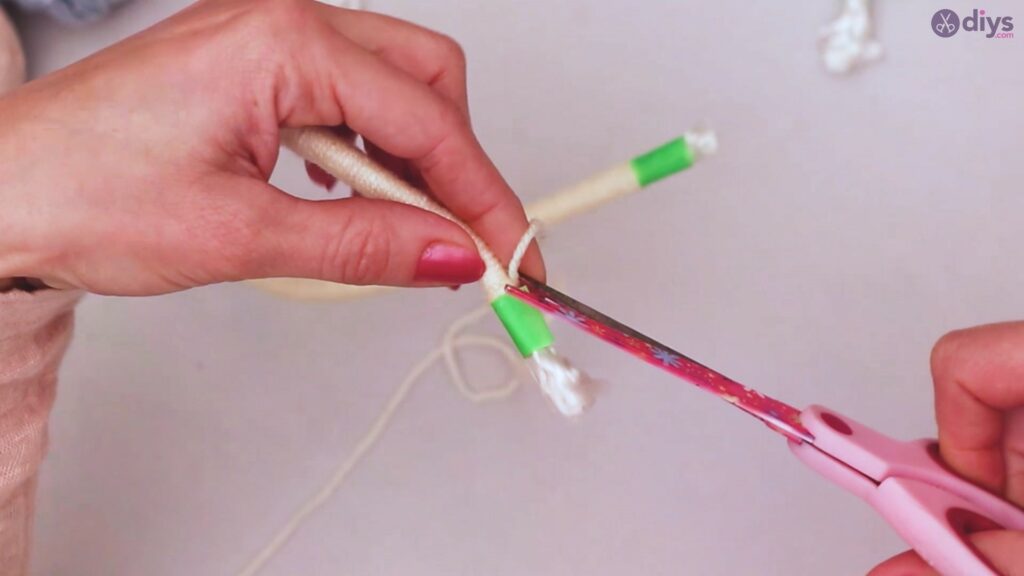
Using colored tape, wrap the ends of your rope to create your edges and keep them from fraying too far. Be certain to leave enough room at the ends of the ropes for your fringe.

Step three: Frame your rainbow
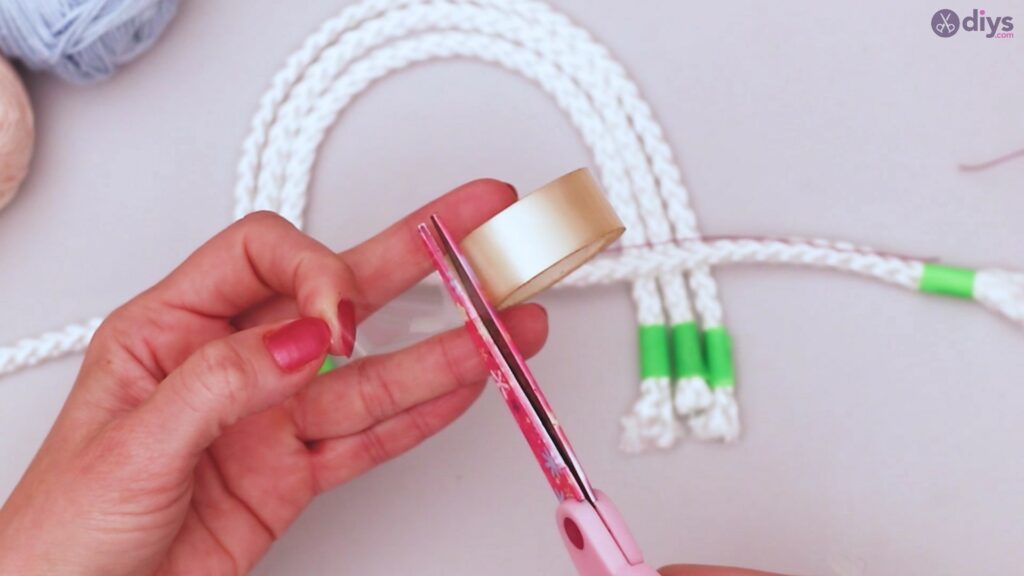
Rope is a tough material merely won't hold its shape on its own. That's where your floral wire comes in. Cutting a piece of your floral wire to lucifer the length of your largest curvation of rope from the top of the record on 1 side to the top of the tape on the other side.
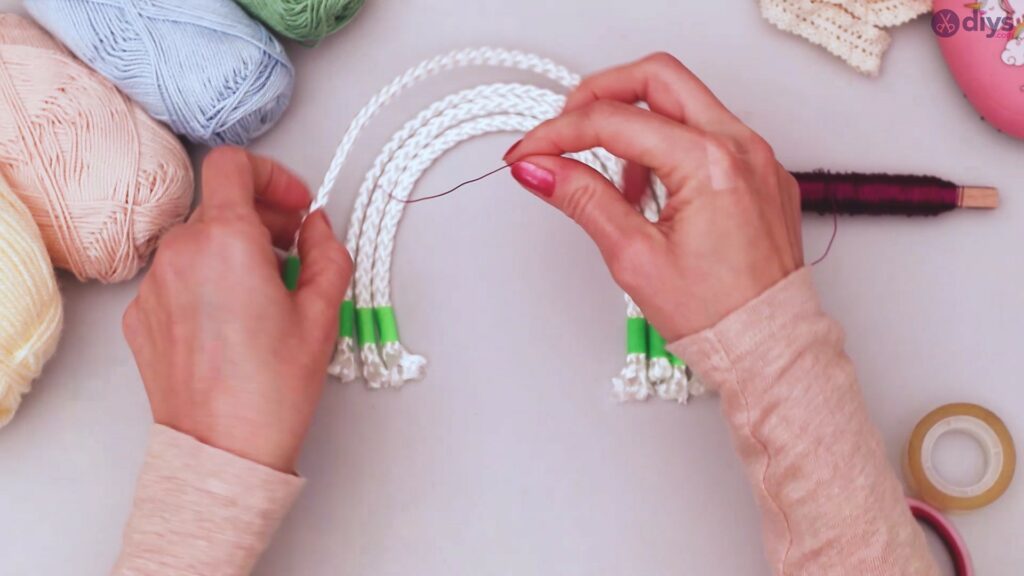
Lay it along your slice of rope.
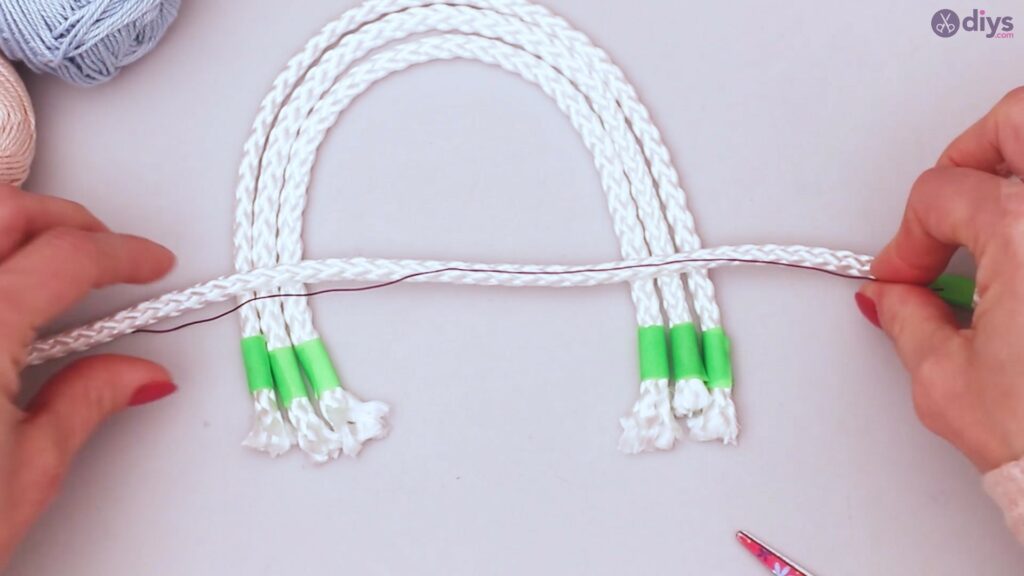
Using articulate tape, attach the wire to the rope with a unmarried piece of record at each end and in the middle. Yous don't desire a thick wrapping of tape, as this will mar the smoothness of your overall design. Recall, your yarn is going to wrap around the record.
With the wire fastened, curve your rope into the arch shape you desire. This volition be the basis for the shape of your rainbow for the residuum of your project.
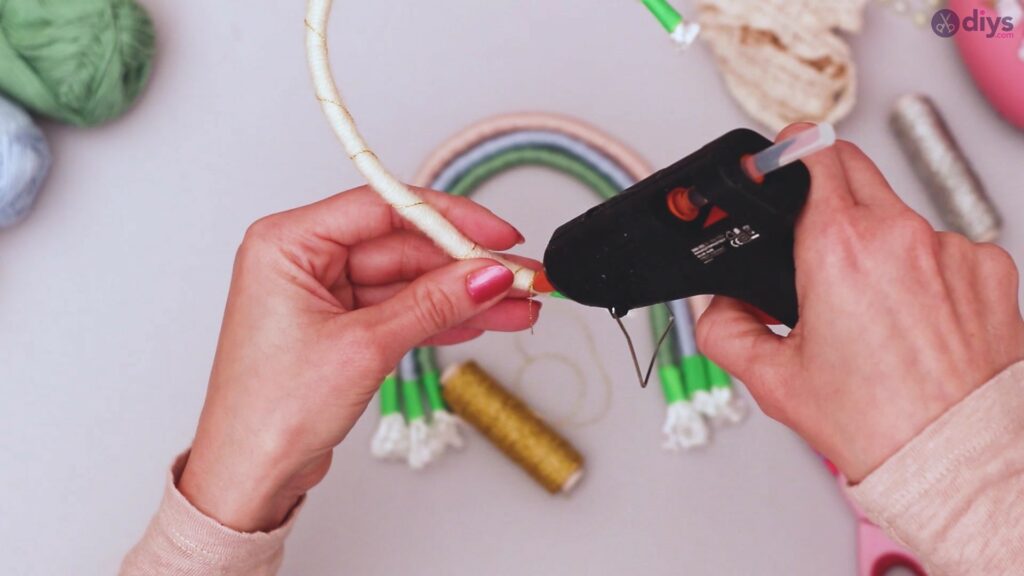
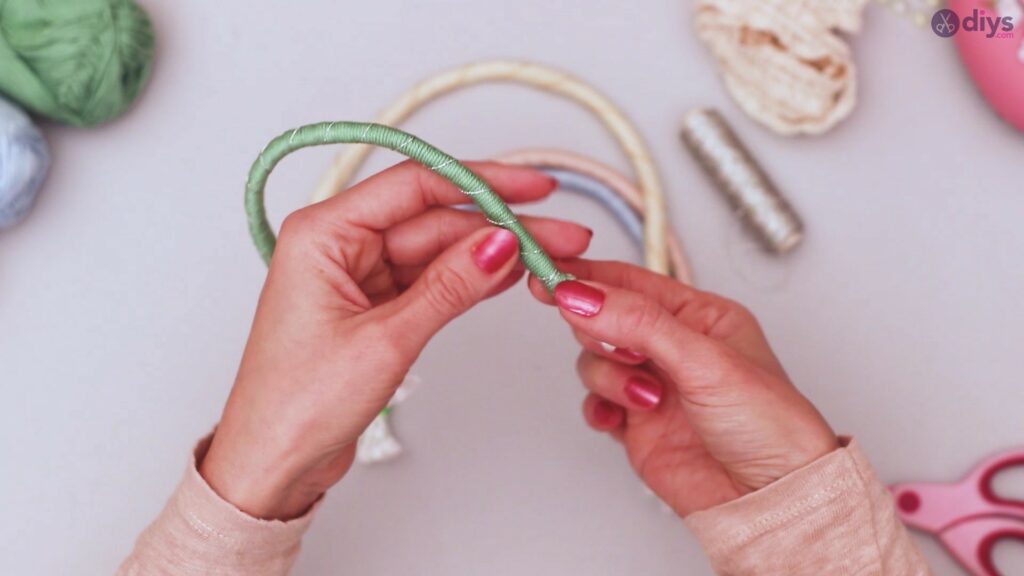
Step iv: Wrapping your yarn
Choose i of your yarn colors. Using your glue gun, add together a dot of gum to one end of a piece of rope just above the pinnacle of the colored tape.
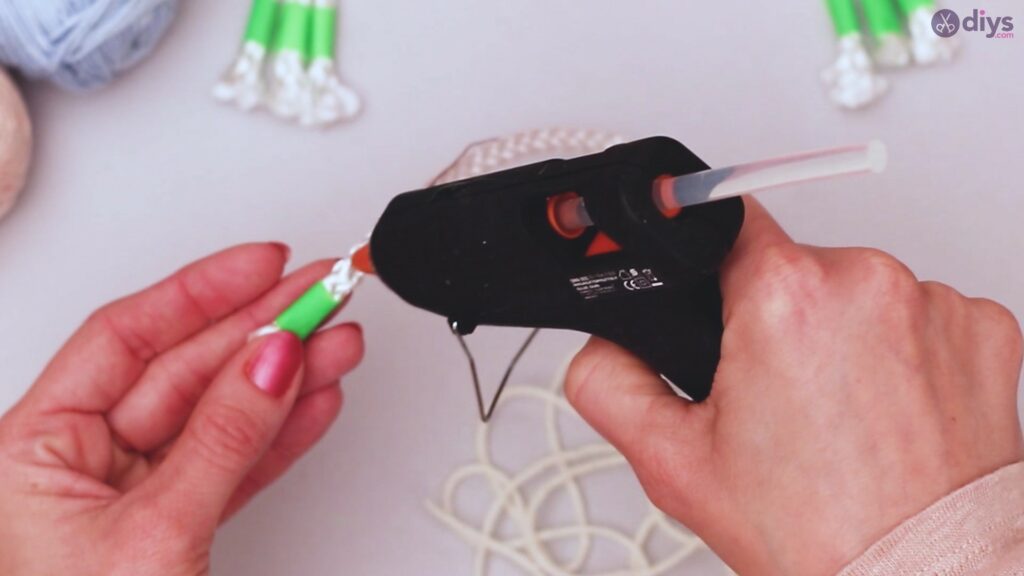
Begin to wrap your yarn from this spot. If there is a frayed border, tuck it beneath your wrapping on the back side of the rope, where it won't be visible. Trim if necessary.
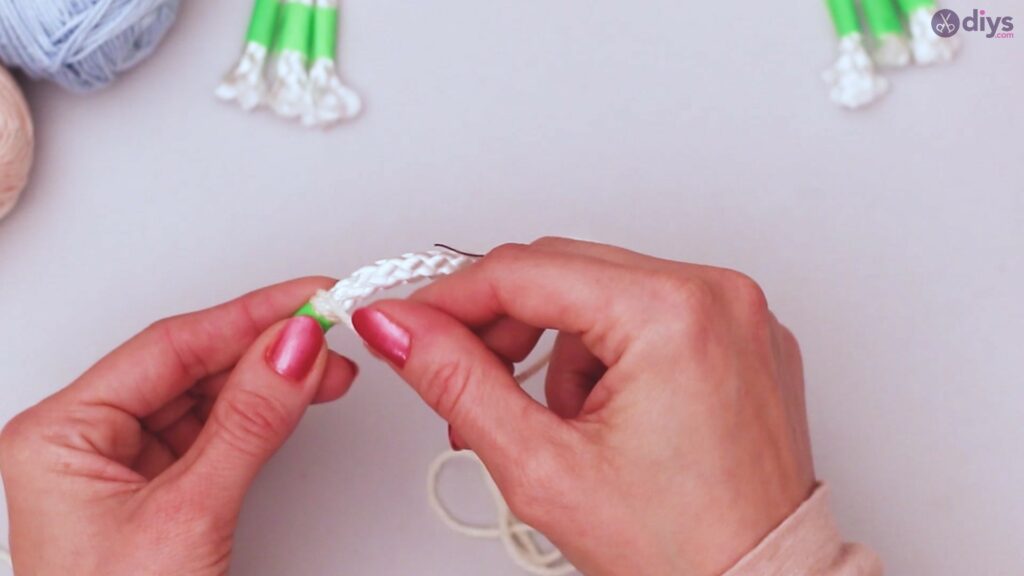
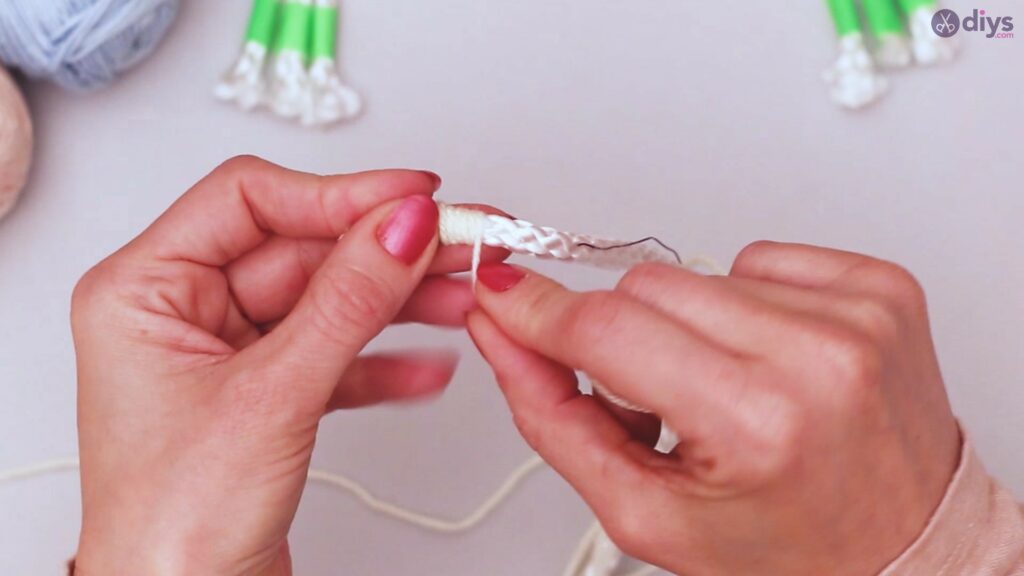
Keep wrapping evenly and so that none of the rope is showing (at least on the front side) until you reach the piece of record at the other end. Stop just before the terminal ane or two wraps, add a dot of glue, so wrap the concluding of your yarn to meet the colored tape.
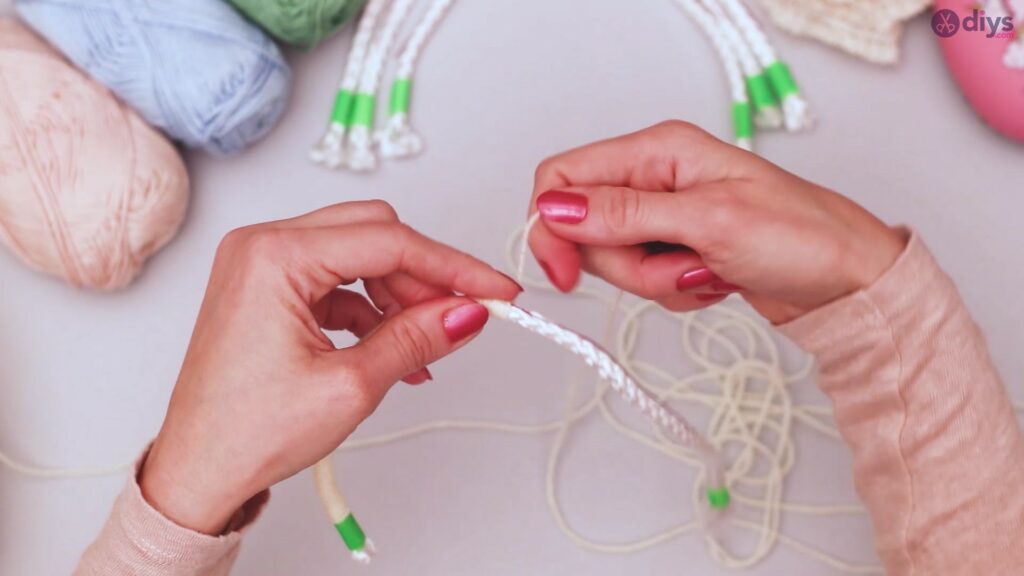

Cut the yarn carefully, trying to keep the edge on the back of your rope.
Step v: Repeat step iv
For your other three pieces of rope, repeat this process, using a different color of yarn for each piece.
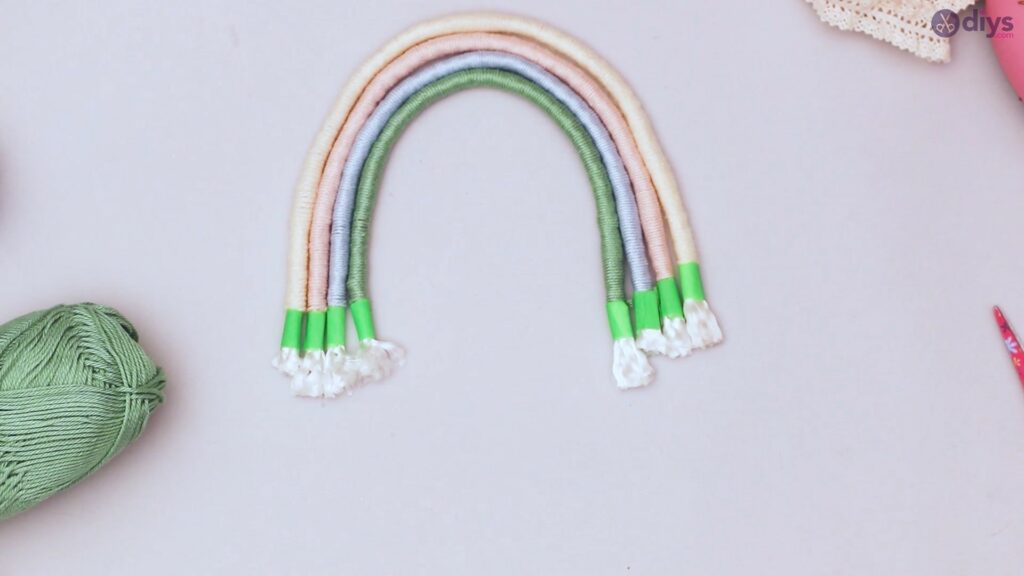
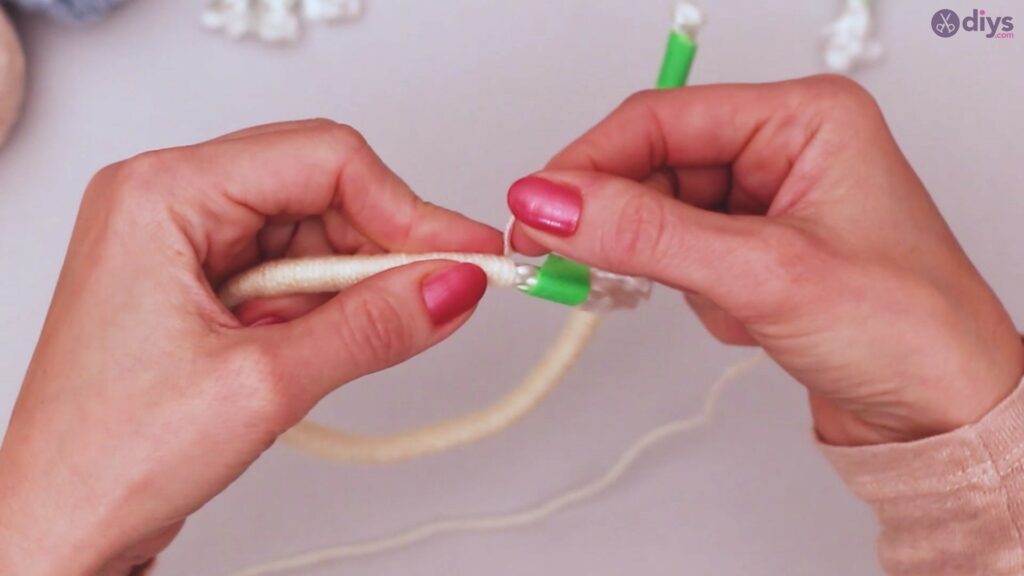
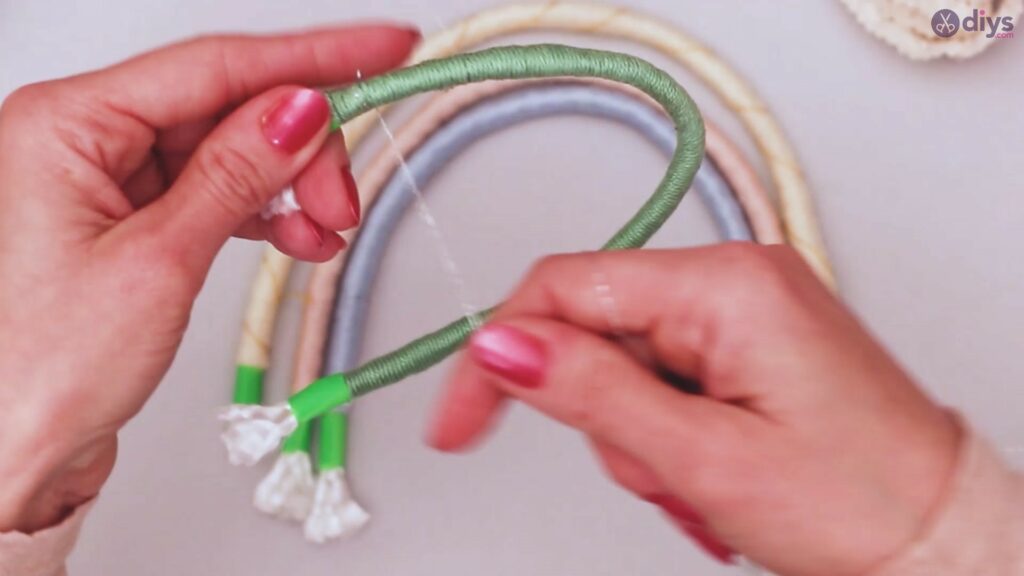
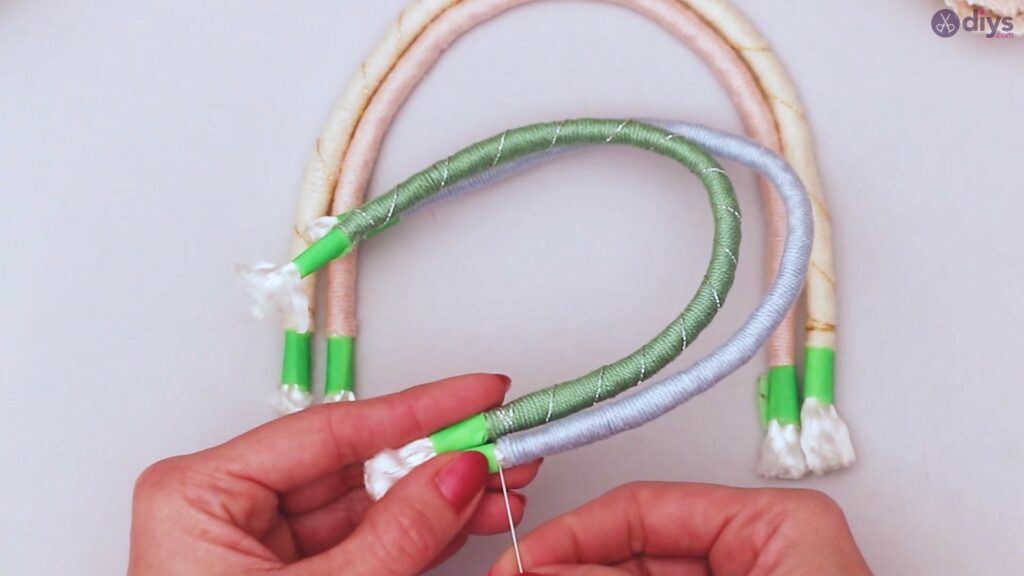
Step 6: Silverish lining
Using your gold or silvery twisted yarn, tie a length at the top edge of one of the pieces of tape on ane of your ropes. Wrap several times around the rope, creating about a half-inch edge. Cutting whatever excess yarn you couldn't fold under the wrapping.
Wind around at an angle across the length of the rope until you reach the far finish. Try to maintain fifty-fifty distancing between your twists. At the far finish of the rope, repeat the wrapping job to create another half-inch border. Don't cut the yarn at this bespeak, every bit yous're non fix to stop the process.
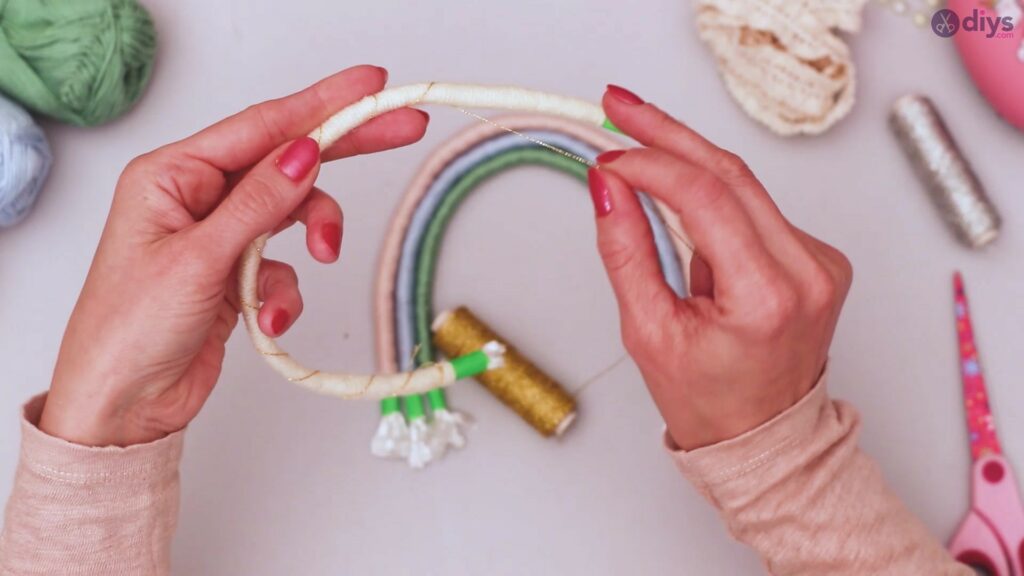
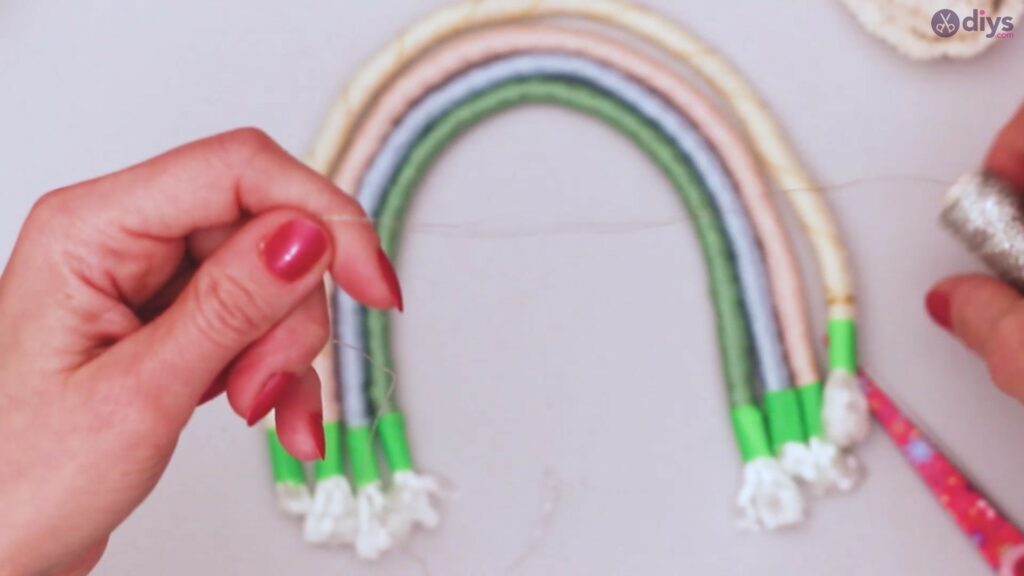
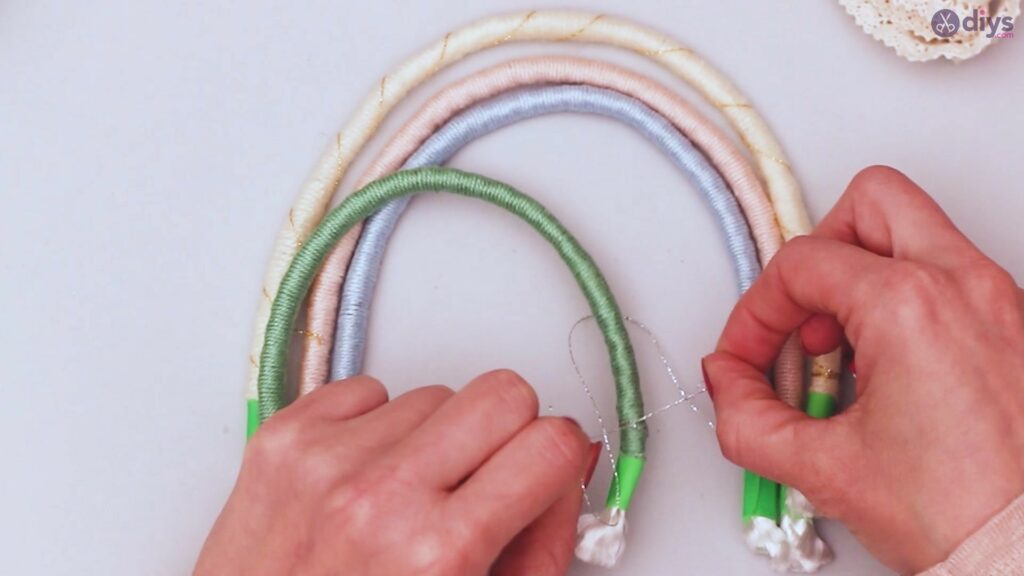

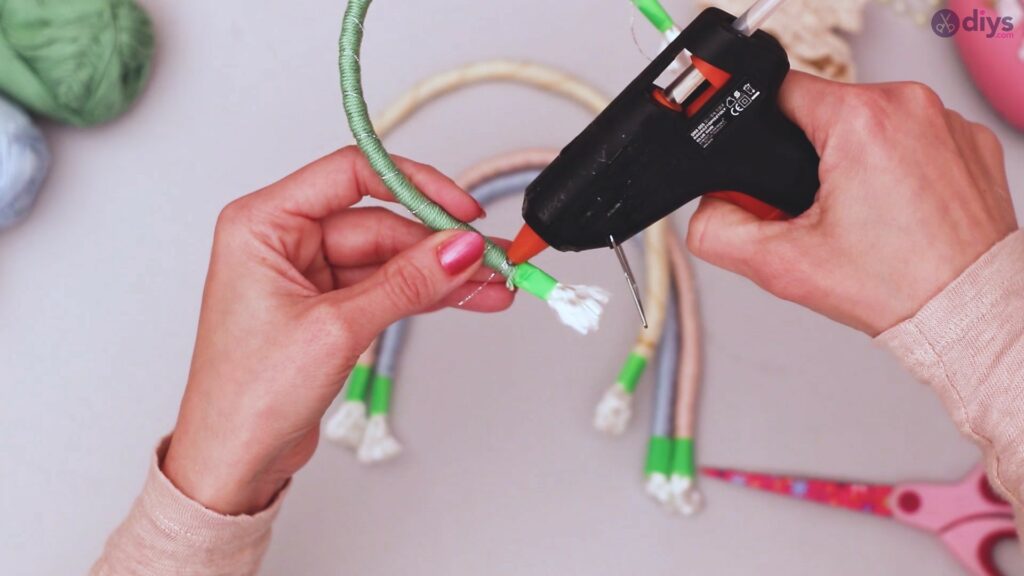
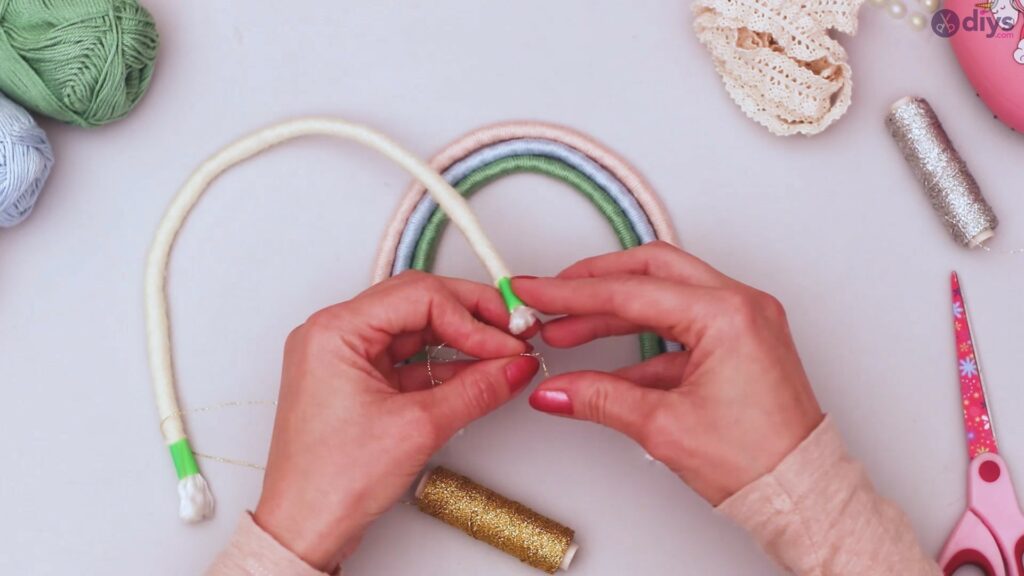
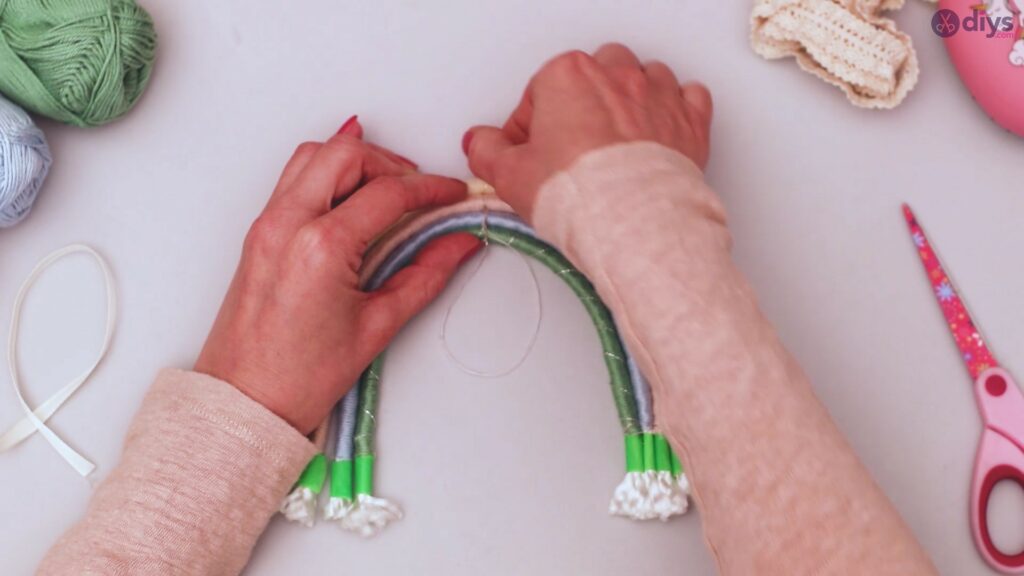
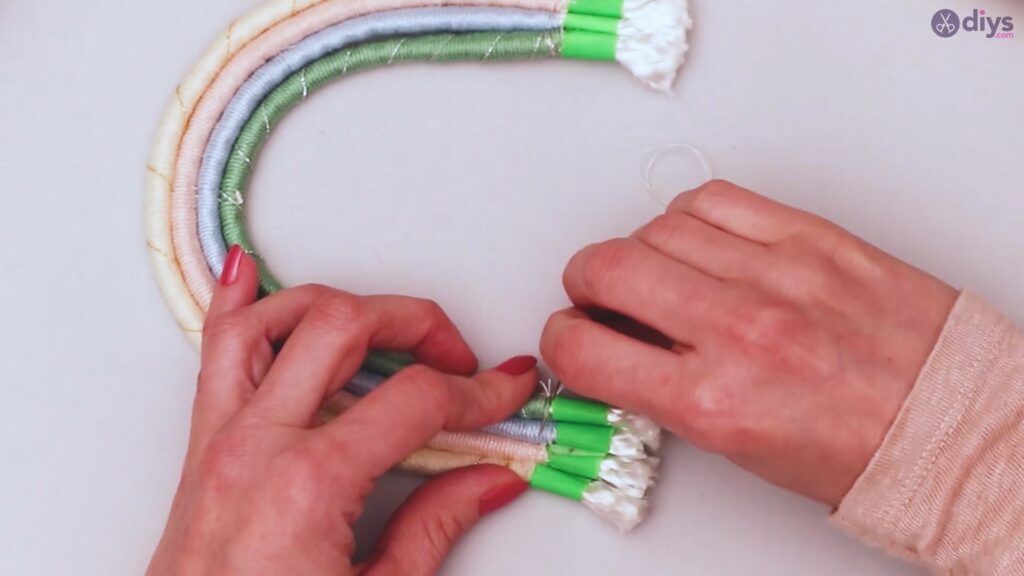
Step 6: Attaching your ropes together
Instead of tying off your silver or golden twisted yarn and cutting it, grab your adjacent piece of rope, and starting time wrapping the border hither.
Continue with the decorative looping around the rope until y'all reach the far finish, once more wrapping a half-inch edge.
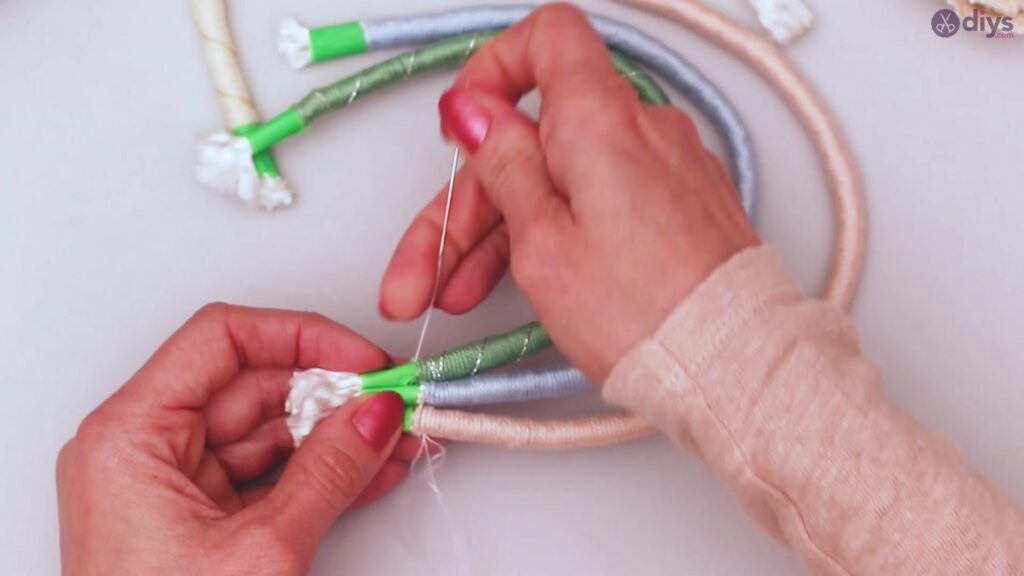
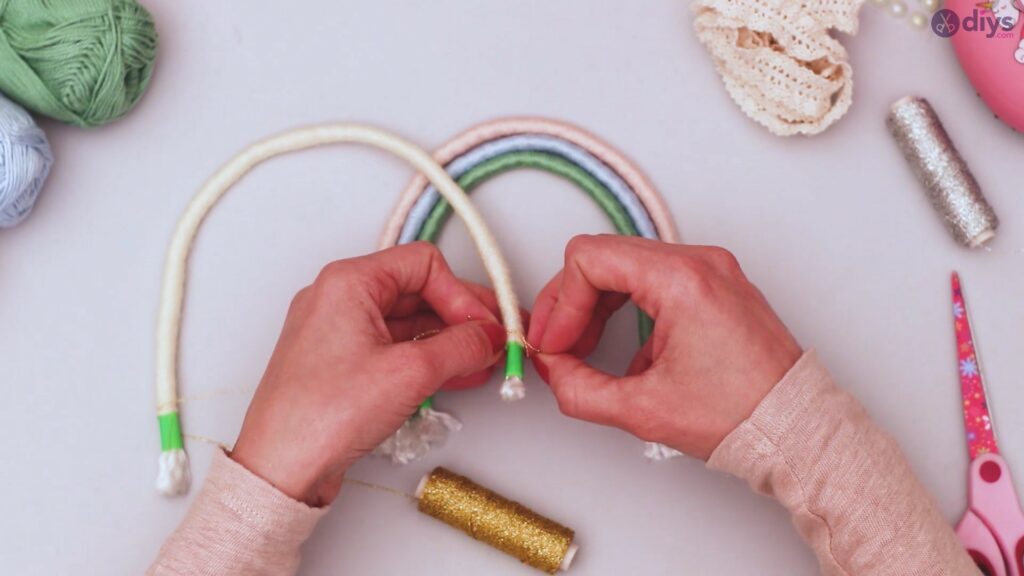
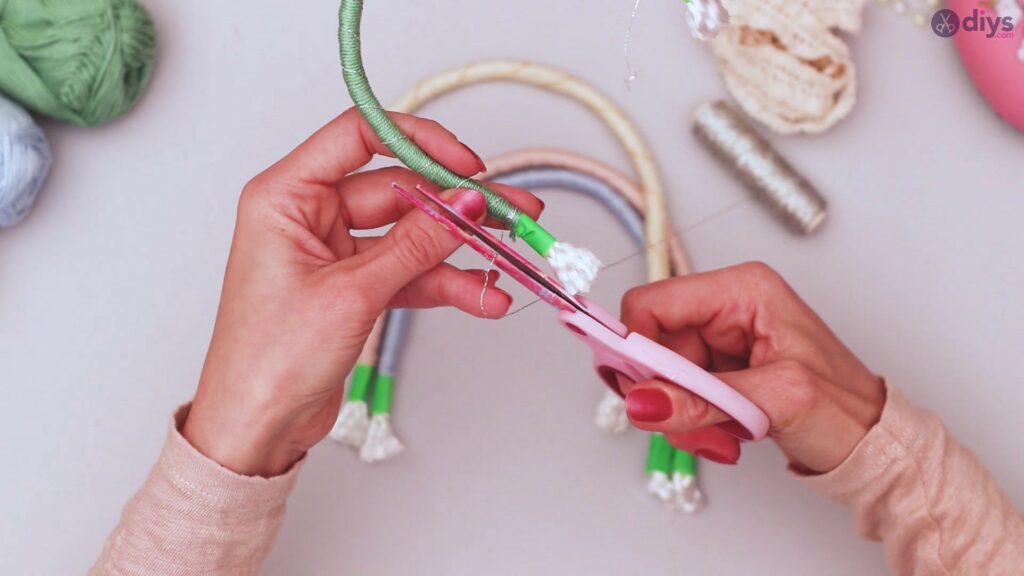
Continue this process until all four ropes are tightly wrapped together. When you reach the end of the final rope, loop the silver yarn 1 last fourth dimension around the rope abreast it to assure all ropes are secured together.

Tie off the cease of the yarn and snip it.
Add i final connecting slice of silver yarn around the height of your rainbow. This volition secure it firmly together so that the unlike lengths don't fall over.
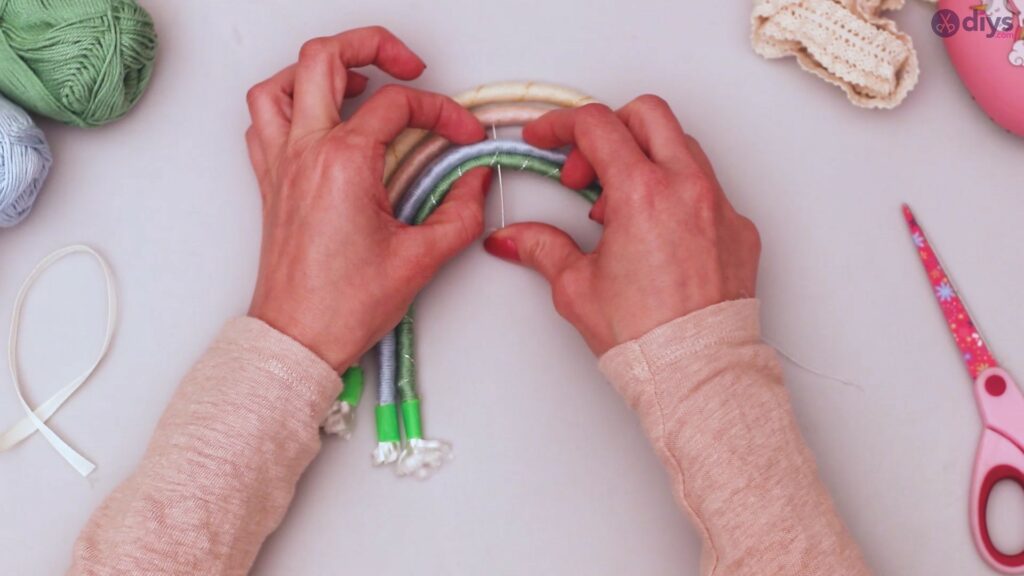
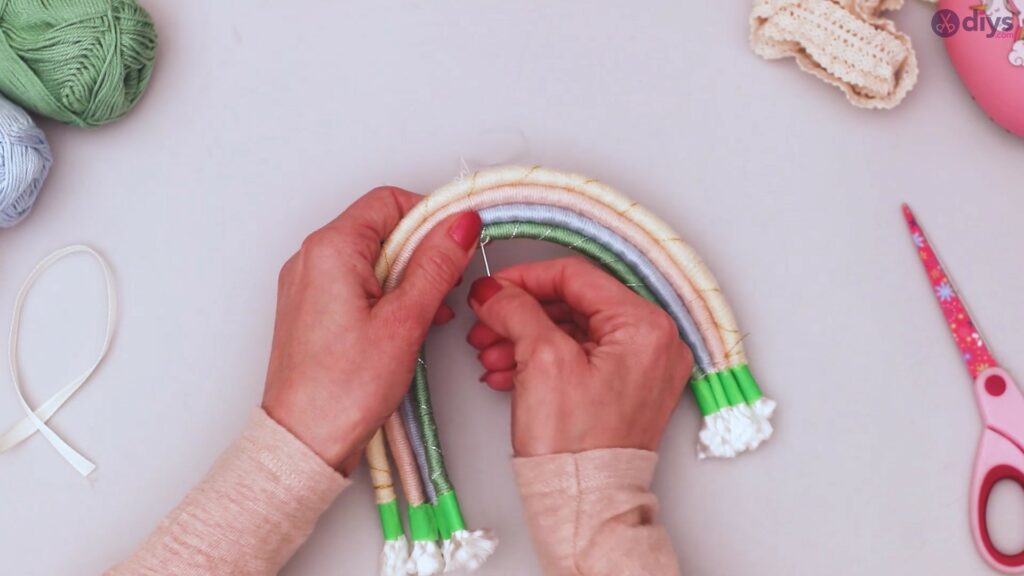
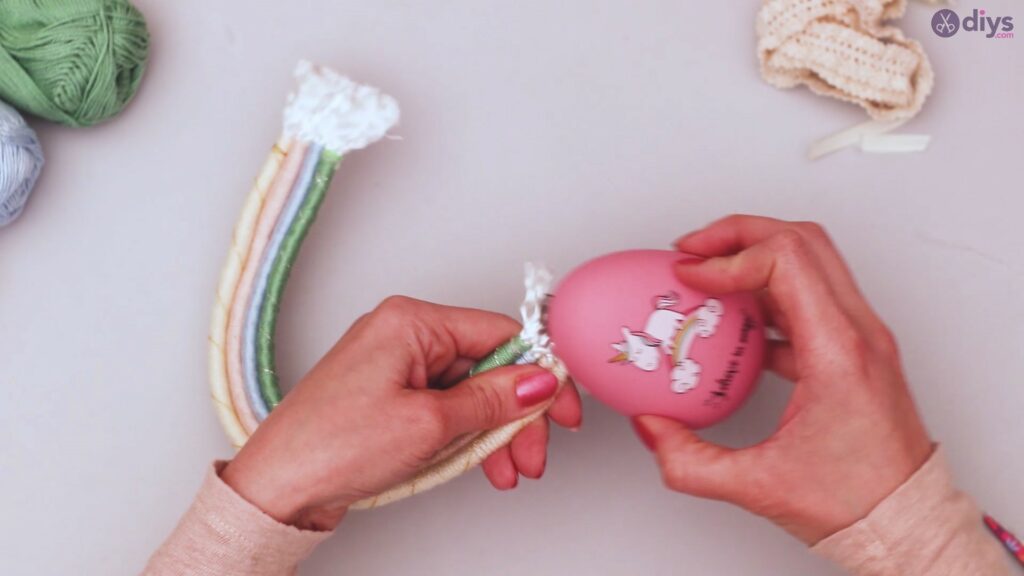
Step seven: Create your hanging loop
Cutting a piece of ribbon that is at least half-dozen inches long. You tin can always trim it later. Loop the ribbon and cross information technology over itself, creating the design of an 'awareness' ribbon.
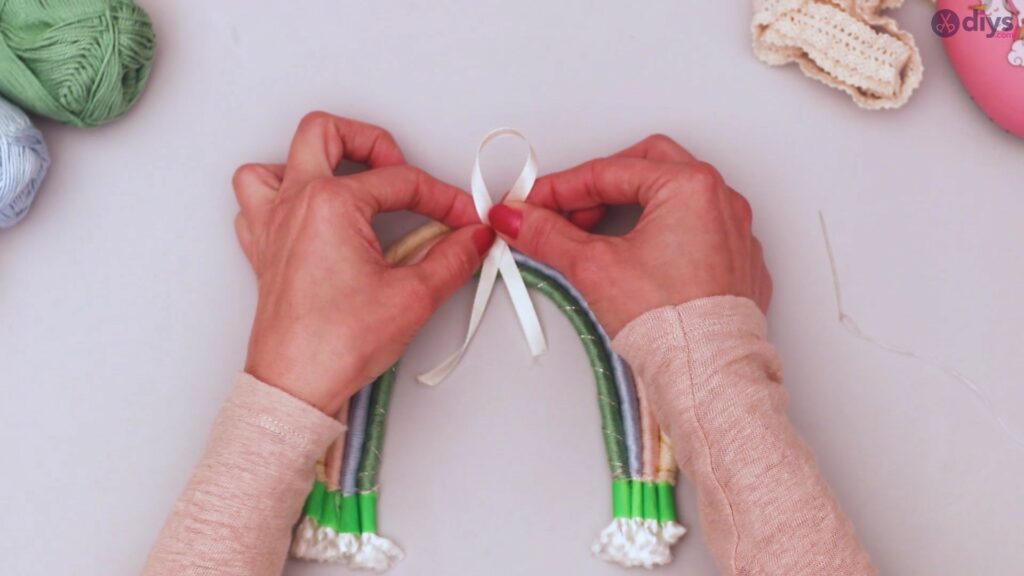
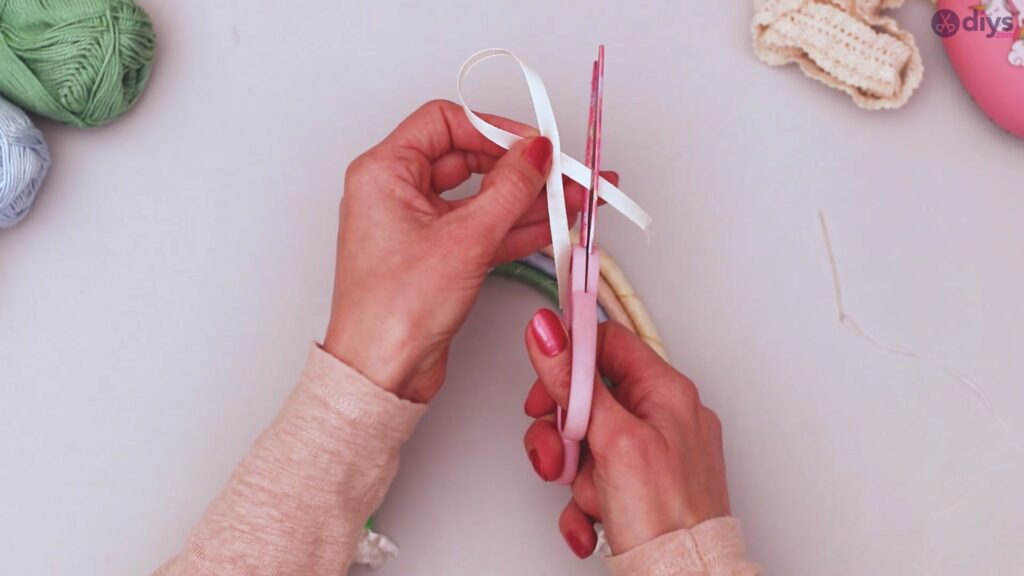
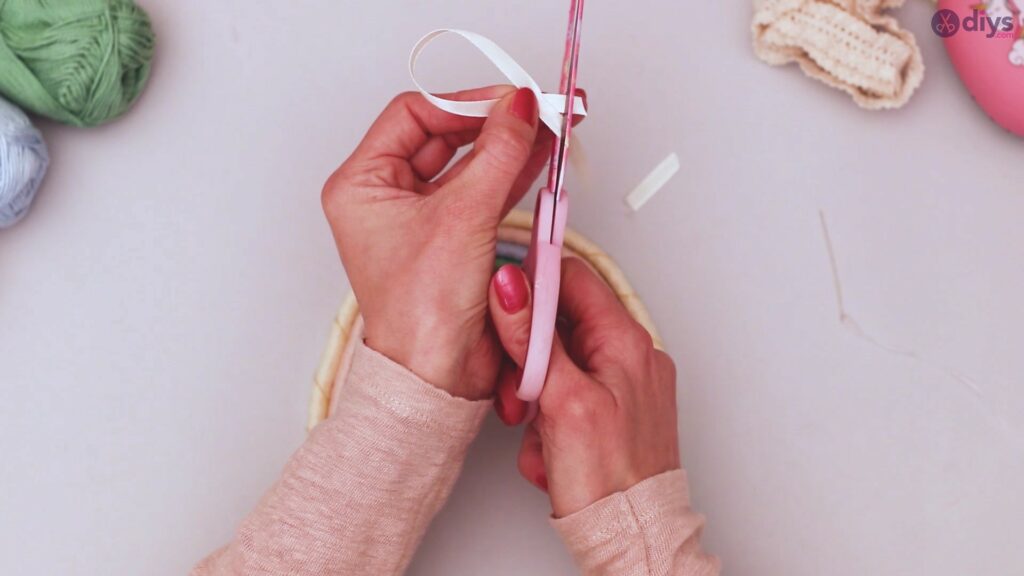
Using your hot gum gun, utilize a tiny dot of gum to secure this design.
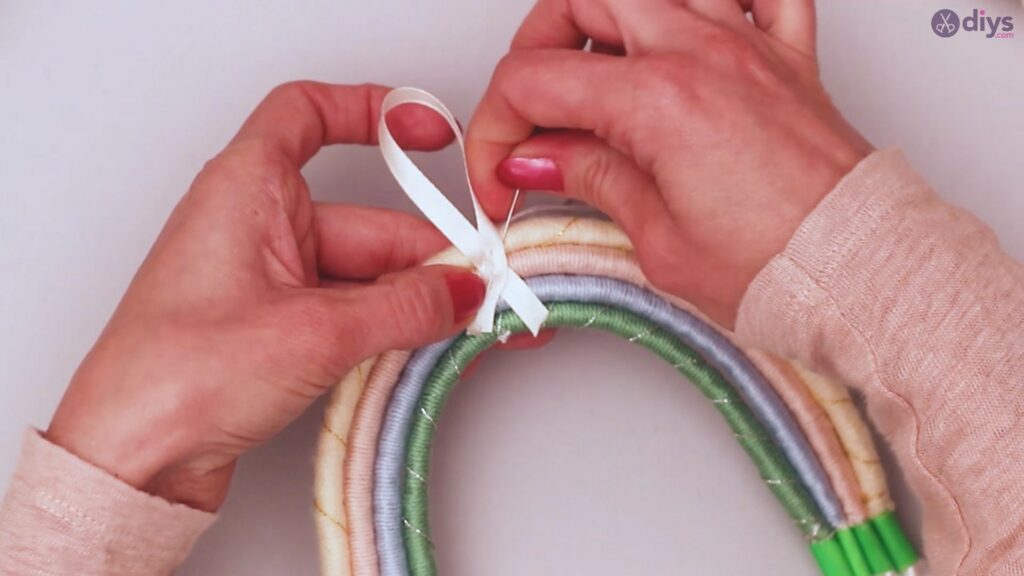
Again, place a dot of gum on the dorsum of your rainbow, on the top rope. Secure your ribbon loop to the glue, and allow for it to dry out. This won't take long. Trim the ends as desired.
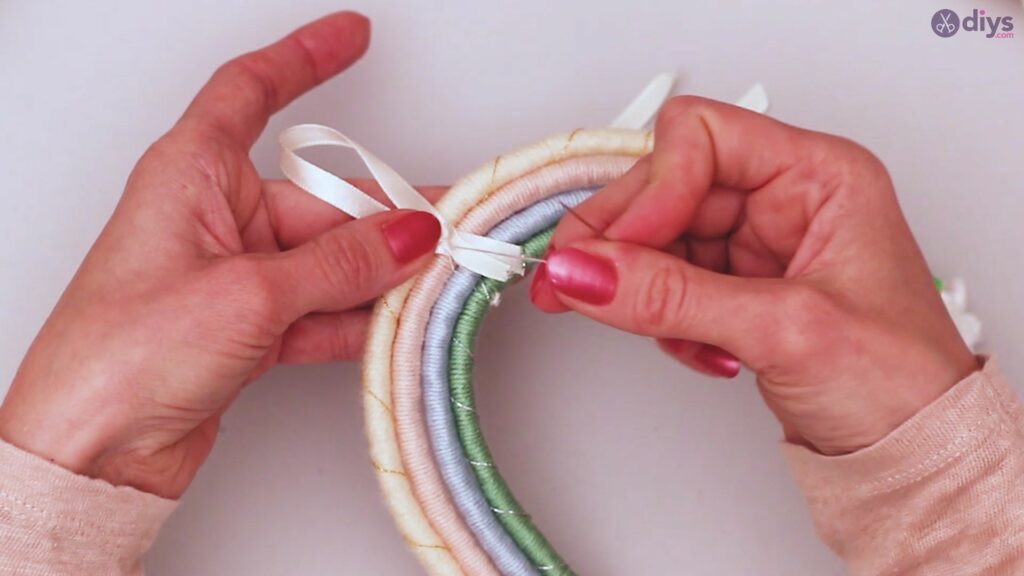
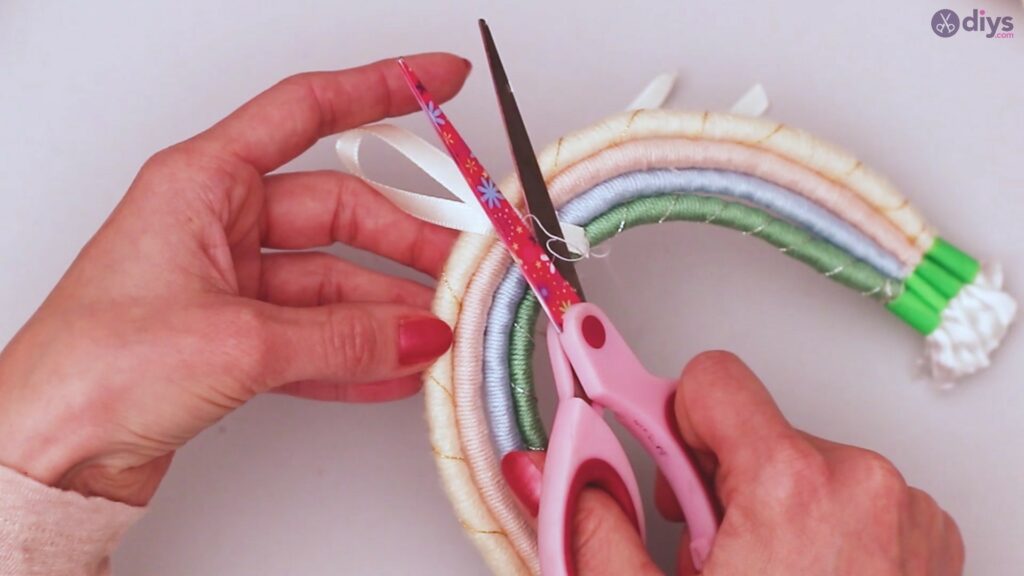
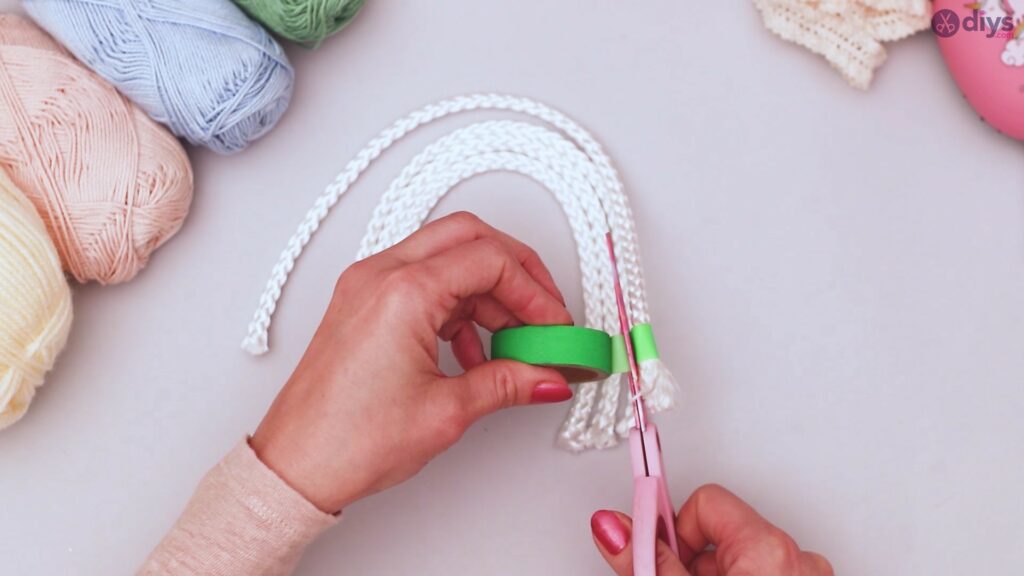
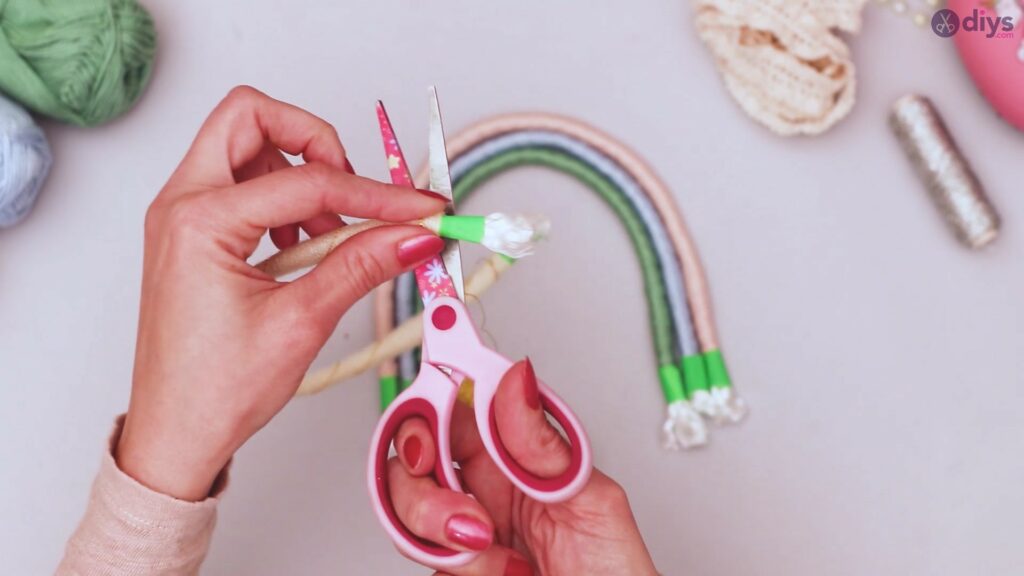
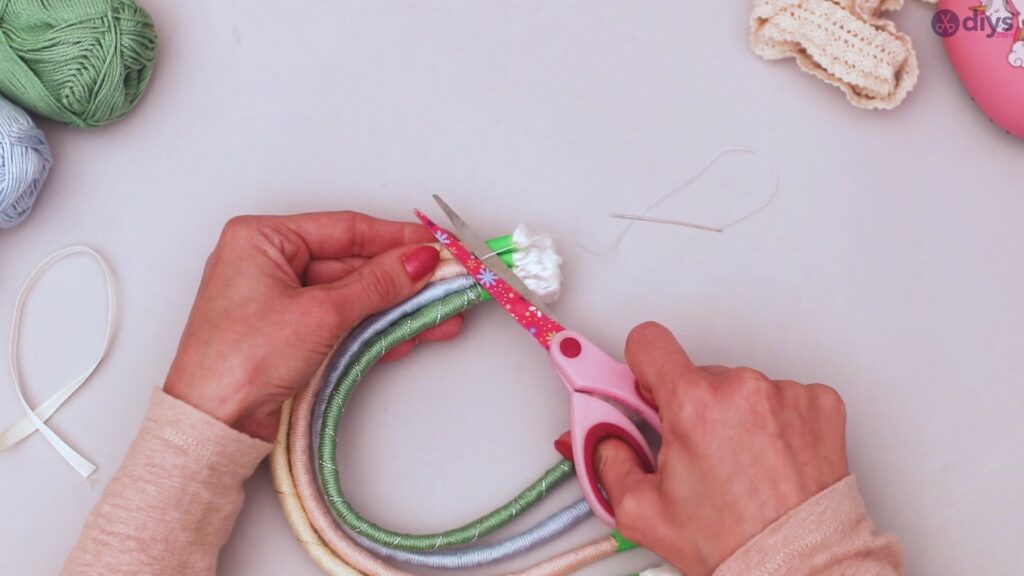
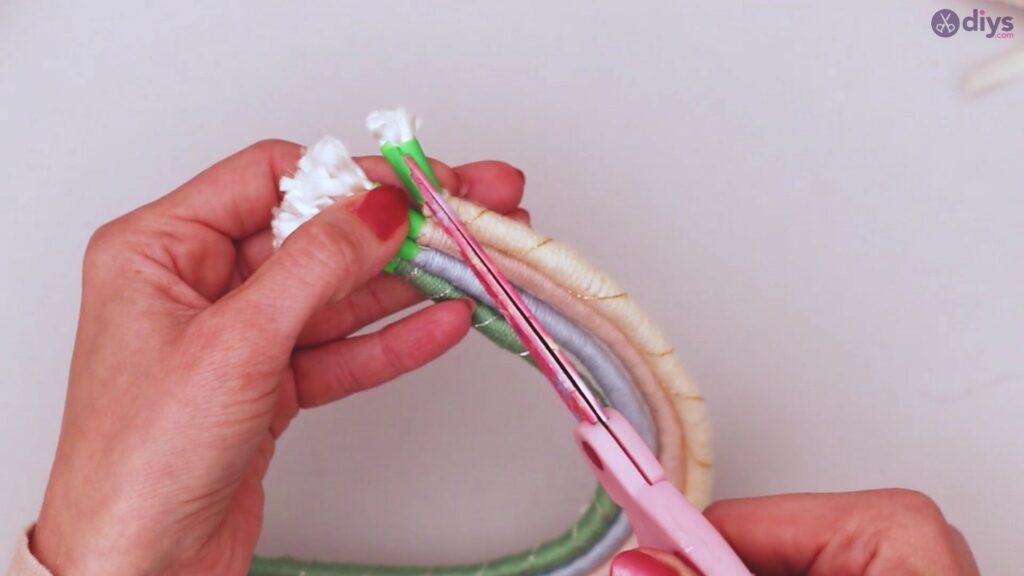
Step 8: Remove tape
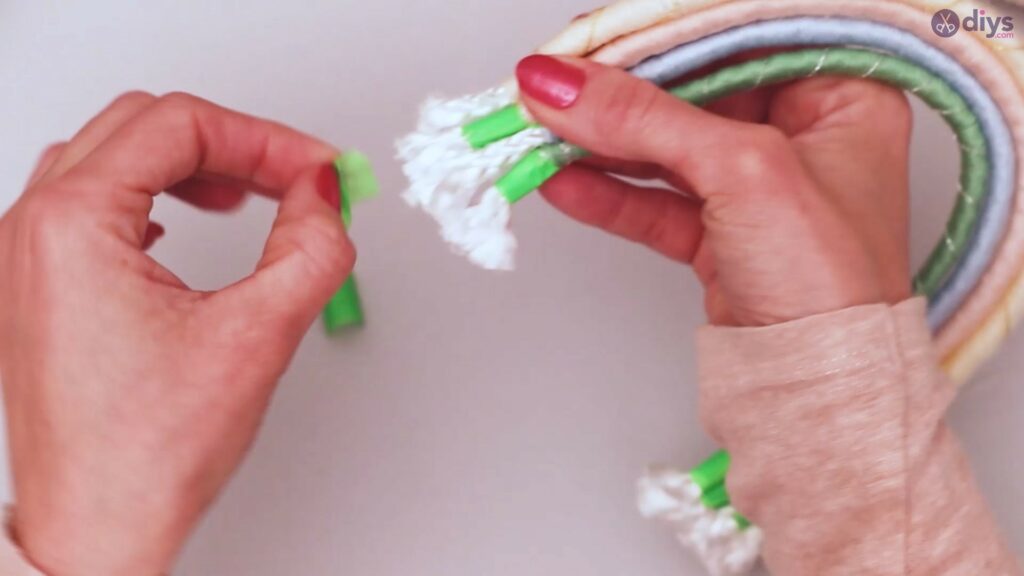
Using your scissors, carefully cutting and remove the pieces of tape from each end of each rope. Be sure non to cut any of your yarn or the rope itself.

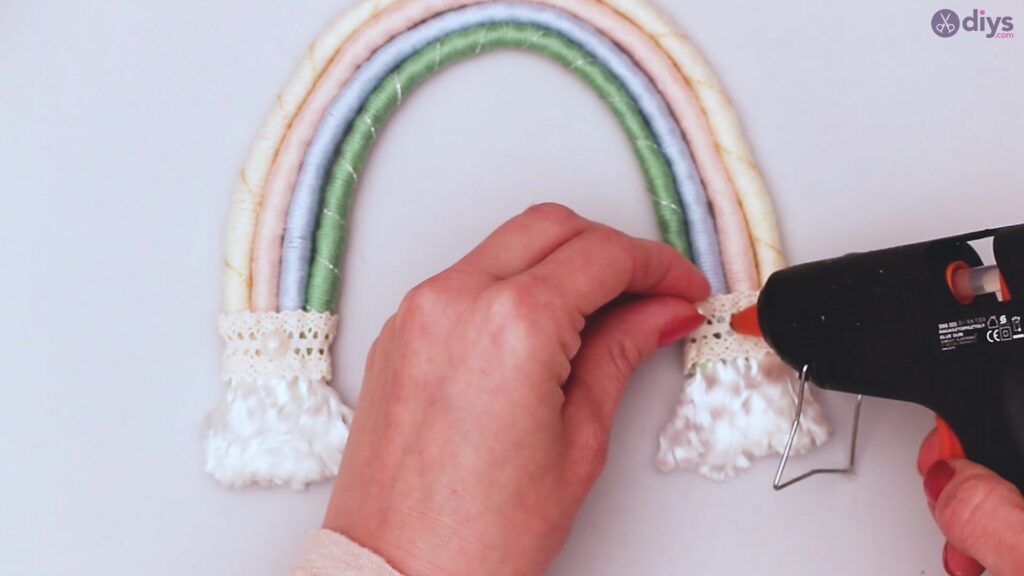
Step 9: Add your lace ribbon
Grab your lace ribbon. Measure out 2 pieces of equal length, long plenty to wrap around your rainbow one time with a little overlap.
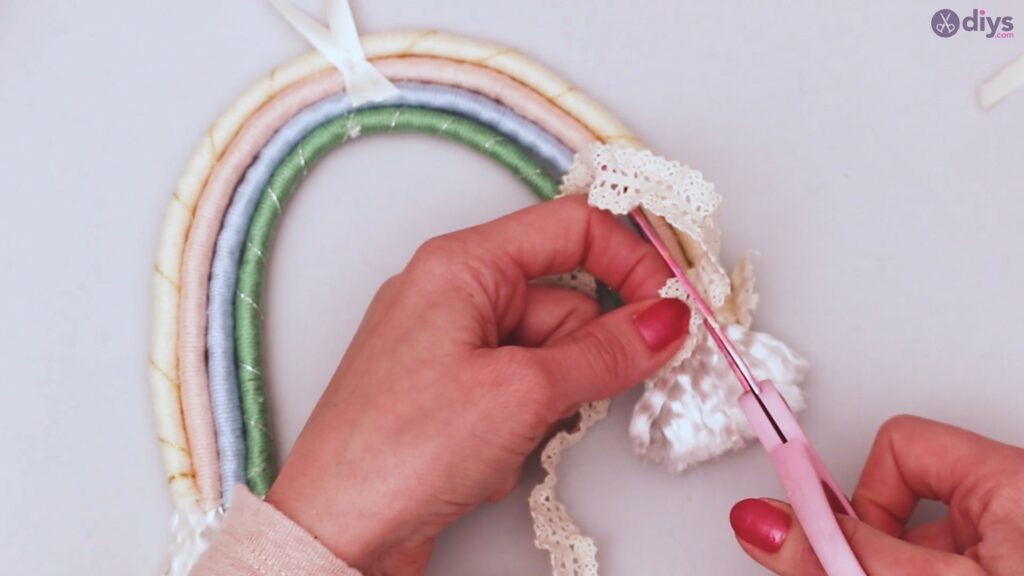
Using your gum gun, adhere each ribbon around the ends of your rainbow, covering the areas where the yarn wrapping ends on either side. This will help conceal whatsoever variance in verbal stopping points. Be sure to get out plenty of length hanging below the ribbons to create your fringe.
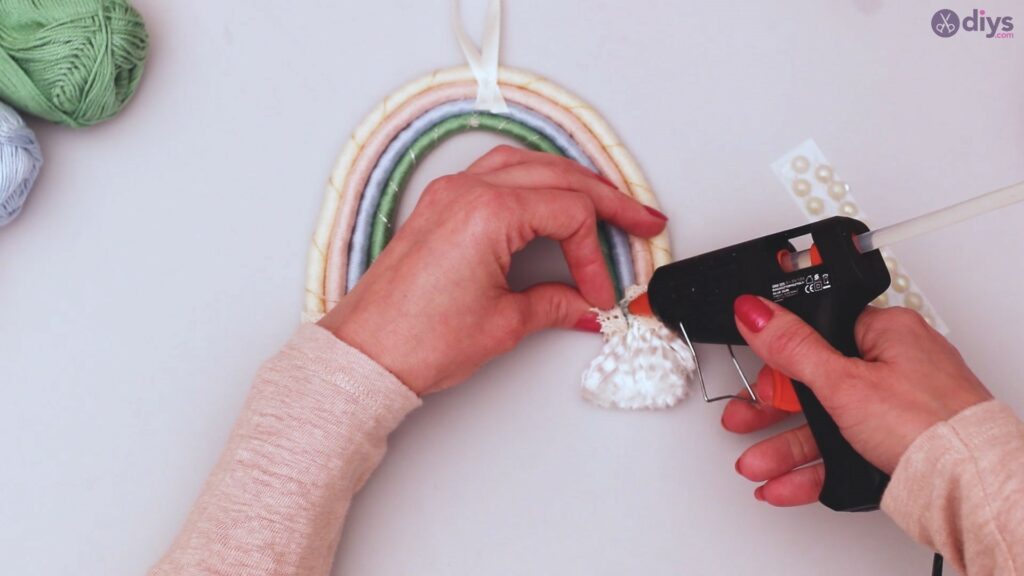
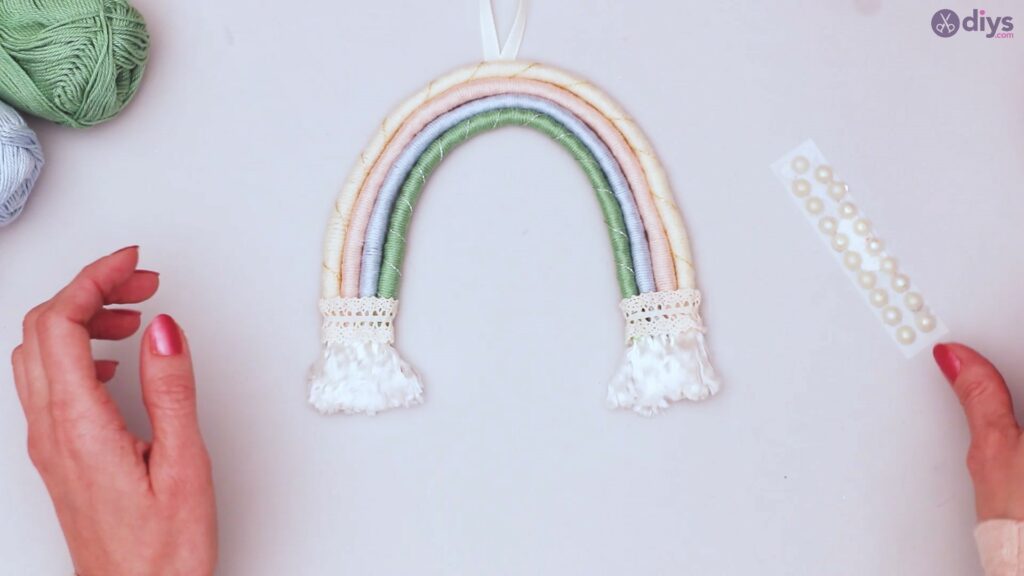
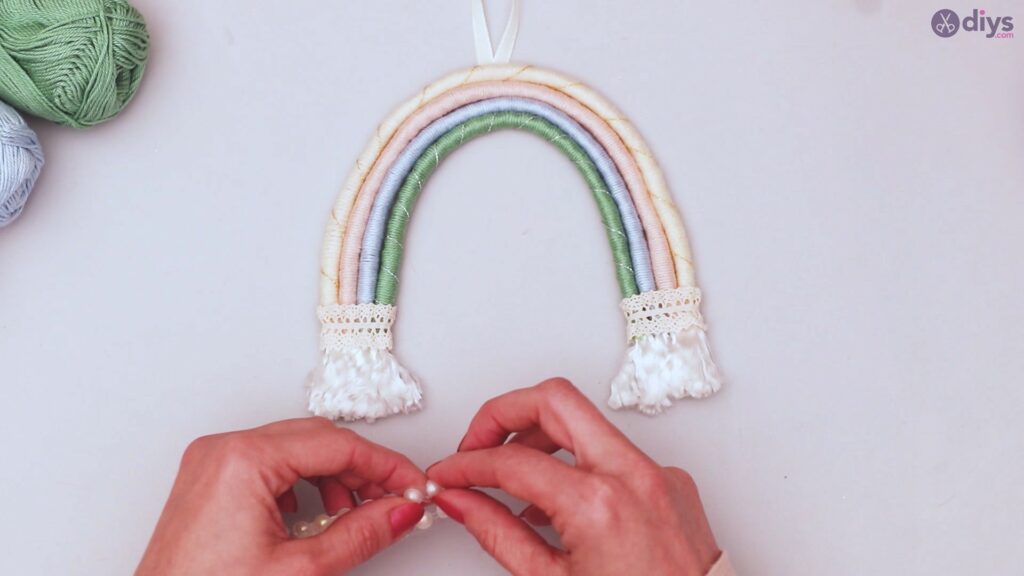
Pace nine: Add decorative beads
Apply your glue gun to adhere decorative beads with a single modest dot of glue. Here, nosotros've used a single bead in the center of each piece of lace ribbon. However, if you like multiple beads that are smaller, y'all have creative liberty to apply your chaplet as you see fit.
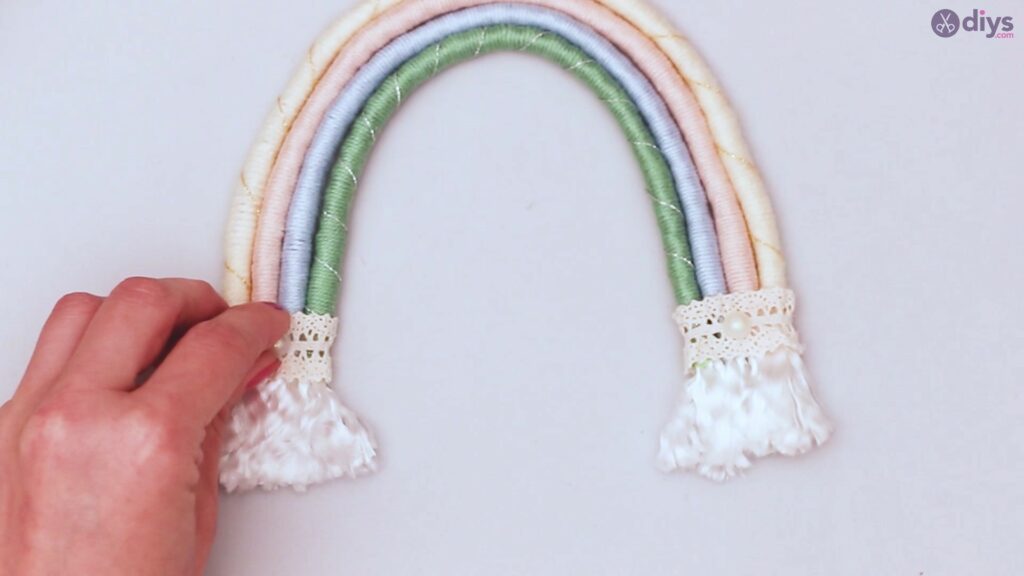
Footstep 10: Have your fringe to the salon
The ends of your ropes may not exist even, then you lot may desire to take your pair of scissors and trim the ends of the fringe and so that they line upwards accordingly. Once this is washed, your design is complete and ready to hang.
Other options include using more than layers of rope with a greater variety of colored yarn, as well as sewing your ropes together rather than gluing. This all depends on your preferences and capabilities. In nigh cases, hot glue is easier for people to use, and because the gum cools and dries quickly, it doesn't hinder the speed of the process. Whatever your choice, this should be a fun and easy project that looks great when y'all're done!
Source: https://www.diys.com/yarn-rainbow-wall-decor/
0 Response to "DIY Yarn Rainbow Wall Decor"
Post a Comment